
Halloween Cookie Decorating Station Printable: Setup Guide & 20 Designs
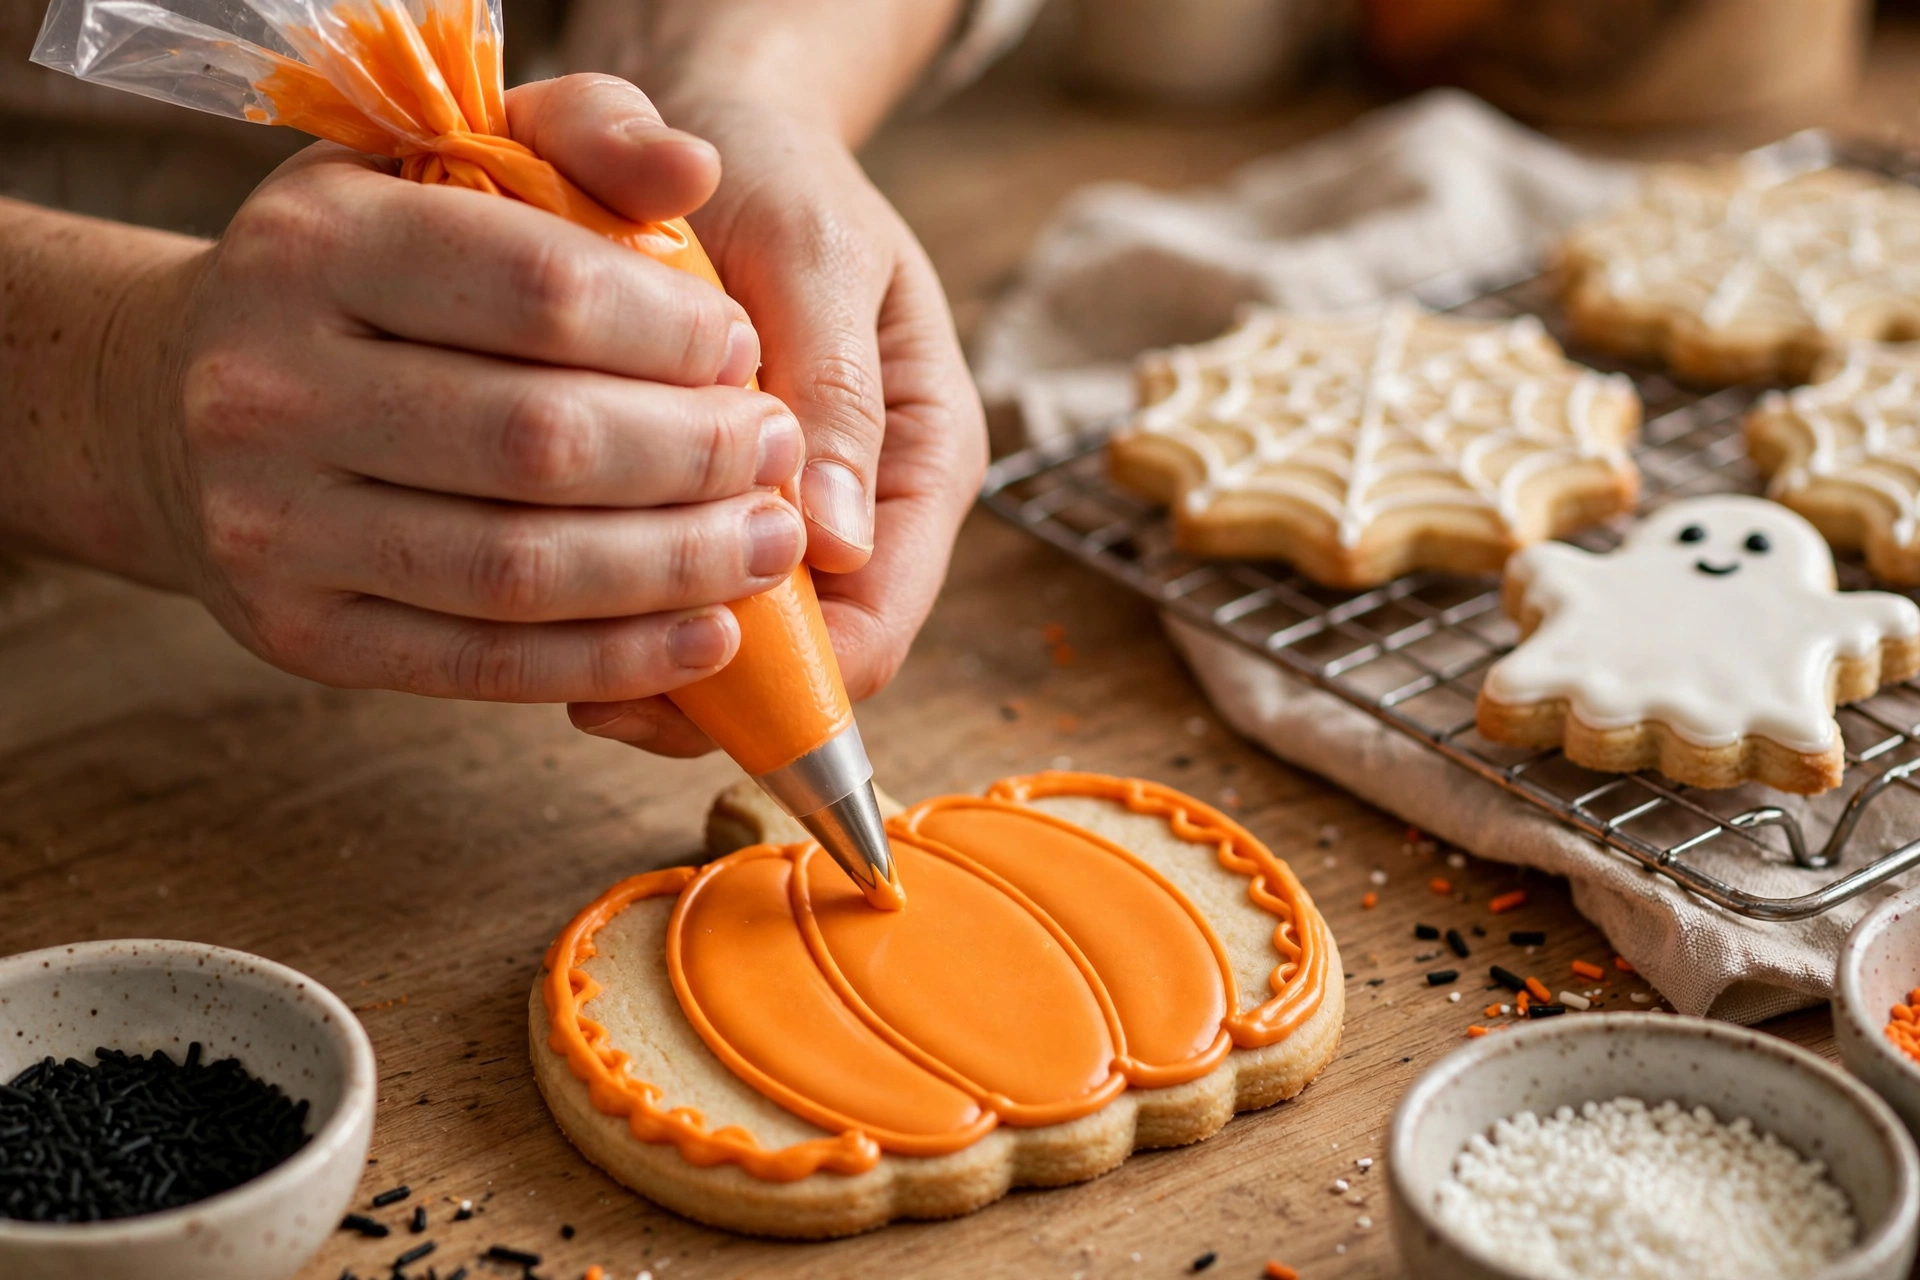
A cookie decorating station is the rare party activity that entertains the guests and produces the dessert. Set it up right and you’ll get an hour of happy, sticky concentration, a table full of edible art, and a take-home treat in every kid’s goodie bag. Set it up wrong and you’ll get frosting on the ceiling. I’ve run this station at enough parties to know the difference, and it’s all in the prep. Below: the complete free setup — shopping checklist, table layout, 20 design ideas with how-tos, printable station labels, and a judging game that turns decorating into a friendly contest.
Why a Decorating Station Beats a Cake
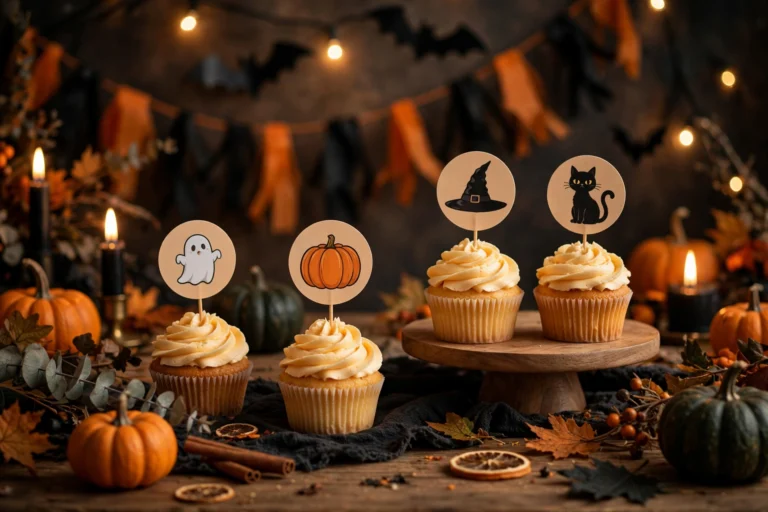
A cake gets eaten in ten minutes and half the kids don’t like the flavor. A decorating station keeps everyone busy, works for every age, handles picky eaters (they decorate what they like), and doubles as the party favor when you send cookies home in little bags. It also photographs beautifully — a table of orange, black, and purple cookies is pure Halloween social media gold.
What You’ll Need (Printable Shopping Checklist)
Cookies
- 2–3 plain sugar cookies per guest (bake ahead or buy undecorated — rounds, pumpkins, ghosts, bats, and witch hats are the best shapes)
- Small cellophane bags + ribbon or twist ties for take-home cookies
Icing & toppings
- Royal icing or store-bought cookie icing in: orange, black, white, purple, green (squeeze bottles beat piping bags for kids)
- Halloween sprinkles, sanding sugar, and nonpareils
- Candy eyes (the single best decorating supply ever invented)
- Mini chocolate chips, candy corn, gummy worms
- Crushed chocolate cookies for “dirt,” pretzel sticks for stems and broomsticks
Station supplies
- A plastic tablecloth (non-negotiable)
- Paper plates or small trays — one per decorator
- Muffin tins or small bowls for toppings (one topping per cup keeps the peace)
- Wet wipes and paper towels — lots
- Toothpicks for dragging icing into designs and fixing mistakes
- Printed station labels (free list below)
- A drying rack or a cleared side table where finished cookies can set
Table Layout That Actually Works
Put the cookies at one end of the table and the drying area at the other so traffic flows in one direction — no one reaches back across wet cookies. Icing bottles go down the middle, toppings in muffin tins along both edges so two kids can share without elbowing. Tape a small “menu” of the 20 design ideas (below) to the table where everyone can see it. Keep a trash bowl at each end. And put the whole table somewhere you can wipe down fast — a kitchen island beats a carpeted living room every time.
Printable: 20 Cookie Design Ideas
Number these on a printed menu card. Each one is doable with the supplies above — no pastry degree required.
- Classic Jack-o’-Lantern: flood orange, add black triangle eyes and a zigzag mouth with a toothpick.
- Friendly Ghost: flood white, two candy eyes, a small black oval mouth. Done in 60 seconds.
- Spider Web: flood black, pipe white circles, drag a toothpick from center outward. Instant web.
- Mummy: flood white, drag horizontal white lines while wet, two candy eyes peeking out.
- Frankenstein: flood green, black flat-top hairline, two candy eyes, stitched mouth.
- Witch Hat: flood purple or black, orange band, yellow buckle square.
- Candy Corn: three horizontal bands — orange, yellow, white. Easiest design on the list.
- Bat: flood black on a bat-shaped cookie, two white eyes, tiny white fangs.
- Eyeball: flood white, big colored circle, black pupil. Creepy and simple.
- Pumpkin Patch: flood orange, green pretzel-stick stem pressed in while wet, sprinkle “vines.”
- Vampire: flood pale white, red eyes, black mouth with white fang triangles.
- Haunted House: flood dark purple, black house silhouette, yellow square windows.
- Black Cat: flood black, green candy eyes, pink triangle nose, white whisker lines.
- Skeleton: flood white, black eye sockets and nose, stitched smile.
- Witch’s Broom: pretzel stick laid on icing, “bristles” of yellow sprinkles at one end.
- Zombie Hand: flood gray-green, darker finger lines, ragged black sleeve edge.
- Poison Apple: flood red, black “poison” drip from the top, tiny skull face.
- Moon & Stars: flood dark blue or black, yellow crescent moon, white sprinkle stars.
- Grave Stone: flood gray, “RIP” in black icing, green sprinkle moss at the base.
- Monster Mash-Up: your own invention — mix any three ideas above. No rules, just frosting.

Printable: Station Labels
Print these on card stock, fold into tent cards, and set one at each supply cluster.
COOKIE PICK-UP: Take 2–3 cookies to your plate. More later if supplies last!
ICING ZONE: Squeeze gently — a little goes a long way. Cap bottles when done.
TOPPING BAR: One spoonful per topping per cookie. Share the candy eyes.
DESIGN MENU: Stuck? Pick a number from the menu card and follow it.
DRYING RACK: Finished cookies rest here for 20 minutes. Look, don’t touch!
TAKE-HOME BAGS: Bag your best 2 cookies. The rest are for the party table.
Turn It Into a Contest (Optional but Recommended)
Hand out voting slips with three categories: Spookiest, Funniest, and Most Creative. Everyone gets one vote per category and can’t vote for their own. Announce winners before dessert, with small prizes — a “Golden Spatula” award (a plastic spatula spray-painted gold) has started actual traditions at parties I’ve been to. For kids under 7, skip the contest and give every decorator a “Master Decorator” sticker instead. Nobody cries over frosting.
Timing & Cleanup Tips
Give the station 45–60 minutes. Royal icing needs about 20 minutes to set enough for bagging, so plan the contest judging during the drying window. Cleanup is 90% prevention: the plastic tablecloth gets rolled up with most of the mess inside, muffin tins go straight in the dishwasher, and a damp cloth handles the rest. One honest warning: black icing stains fingers for a day. Hand out the wet wipes early and often, and consider gloves for the youngest decorators.
Want the Full Premium Kit?
This whole guide — checklist, layout, 20 designs, labels, contest slips — is free to use. If you’d rather print than plan, our Halloween Cookie Decorating Station Kit on Etsy includes professionally designed tent-card labels, a 20-design illustrated menu, voting ballots, take-home bag tags, and matching party signage in Fukroo’s signature Halloween style. Browse the full premium Halloween printable bundles at the Fukroo Etsy shop.
Now preheat nothing, frost everything, and try not to eat the inventory. 🍪🎃
 🐶
Free Pet Guides
🐶 Love Dogs Too?
 🎁
Gift Ideas
🎉 Occasion Hunters — Gifts for Every Occasion