Free Printable Halloween Cupcake Toppers (12 Spooky Designs)
Store-bought cupcakes look instantly party-ready with the right toppers. These free printable Halloween cupcake toppers turn plain frosted cupcakes into a dessert table centerpiece in about ten minutes — no piping skills required. Print, cut, stick them on picks, and done.
The free set includes 12 designs in two-inch circles, ready to cut out and assemble. Scroll down for the full design list, step-by-step assembly, and ideas for matching them to your party theme.
The 12 Free Topper Designs
Each design is drawn in a bold, festive style that reads clearly from across the room — important, because dessert tables get admired from a distance first:
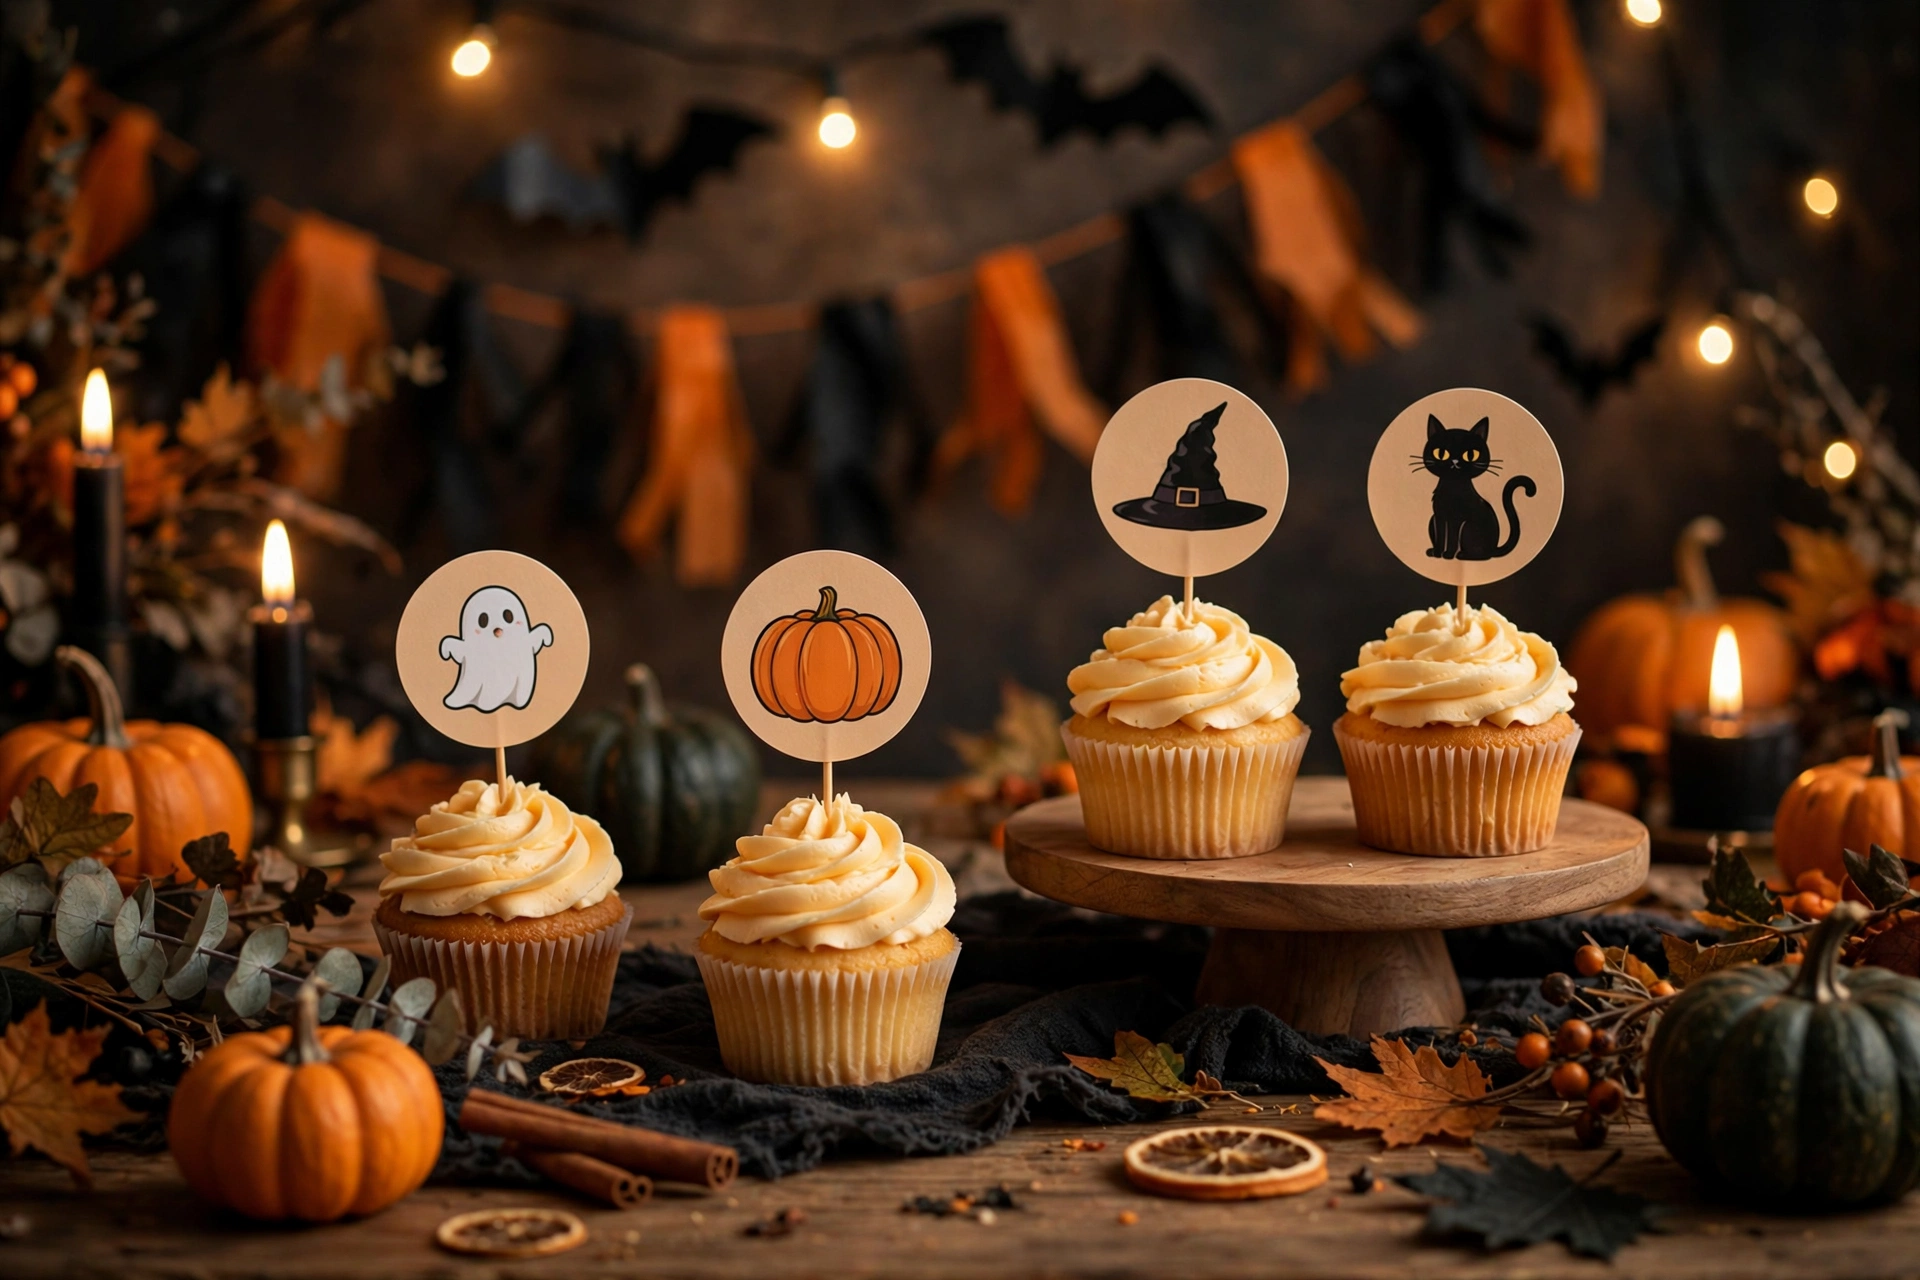
- Grinning Jack-o’-Lantern — classic orange pumpkin face on a black background.
- Cute Ghost — a friendly white ghost with rosy cheeks that kids love.
- Witch Hat — black pointed hat with a purple band and gold buckle.
- Black Cat — sleek cat silhouette with green eyes on an orange moon.
- “Boo!” Script — playful lettering with tiny bats around it.
- Candy Corn Trio — the iconic stripes, bright and cheerful.
- Haunted House — crooked little mansion with lit windows.
- Spider Web — white web on purple with a dangling spider.
- Frankenstein — green face, flat head, bolts — always a hit with kids.
- Mummy Face — wrapped bandages with peeking eyes.
- “Happy Halloween” Banner — orange lettering on black with pumpkin accents.
- Purple Bat — a swooping bat across a full moon.
Mix and match across your cupcakes, or assign one design per flavor so guests can tell them apart — chocolate gets the Frankenstein, vanilla gets the ghost, and so on.

How to Assemble Cupcake Toppers (Step by Step)
You need: the printed topper sheet, cardstock (print directly on it if you can), scissors or a 2-inch circle punch, toothpicks or lollipop sticks, and tape or a glue dot.
- Print at 100% scale on white cardstock. Regular paper flops over; cardstock stands up straight in the frosting. If your printer only takes regular paper, print then glue the sheet onto cardstock before cutting.
- Cut out each circle. A 2-inch circle punch makes this fast and gives perfect edges. With scissors, cut just inside the outline so no white edge shows.
- Attach the pick. Lay a toothpick or 4-inch lollipop stick on the back of each circle, leaving about an inch and a half sticking out below. Secure with a small piece of clear tape or a glue dot. Hot glue works too and holds the best.
- Double-side them (optional but nice). Glue two matching circles back to back with the stick sandwiched between them. Now the topper looks finished from every angle as guests walk around the table.
- Insert into frosted cupcakes. Push the pick into the center of each cupcake just before serving. Do not place them hours ahead — the frosting softens and toppers can lean.
Total time for a batch of 24: about fifteen minutes once you get a rhythm going. Put on a Halloween playlist and it barely feels like work.
Matching Toppers to Your Party Theme
A dozen designs gives you room to coordinate. A few combinations I have used:
- Classic orange-and-black party: jack-o’-lantern, “Happy Halloween,” bat, and haunted house. Timeless and photographs beautifully.
- Cute-not-creepy kids’ party: ghost, candy corn, Frankenstein, and mummy. Nothing scary, all smiles.
- Witchy purple-and-green theme: witch hat, spider web, black cat, and “Boo!” — moody and a little glamorous.
- Mixed dessert table: use all twelve scattered across cupcakes, and stick the extras into a bowl of candy or a cheese ball as decoration. Nothing goes to waste.
More Ways to Use These Toppers
Do not limit them to cupcakes. The same two-inch circles work as:
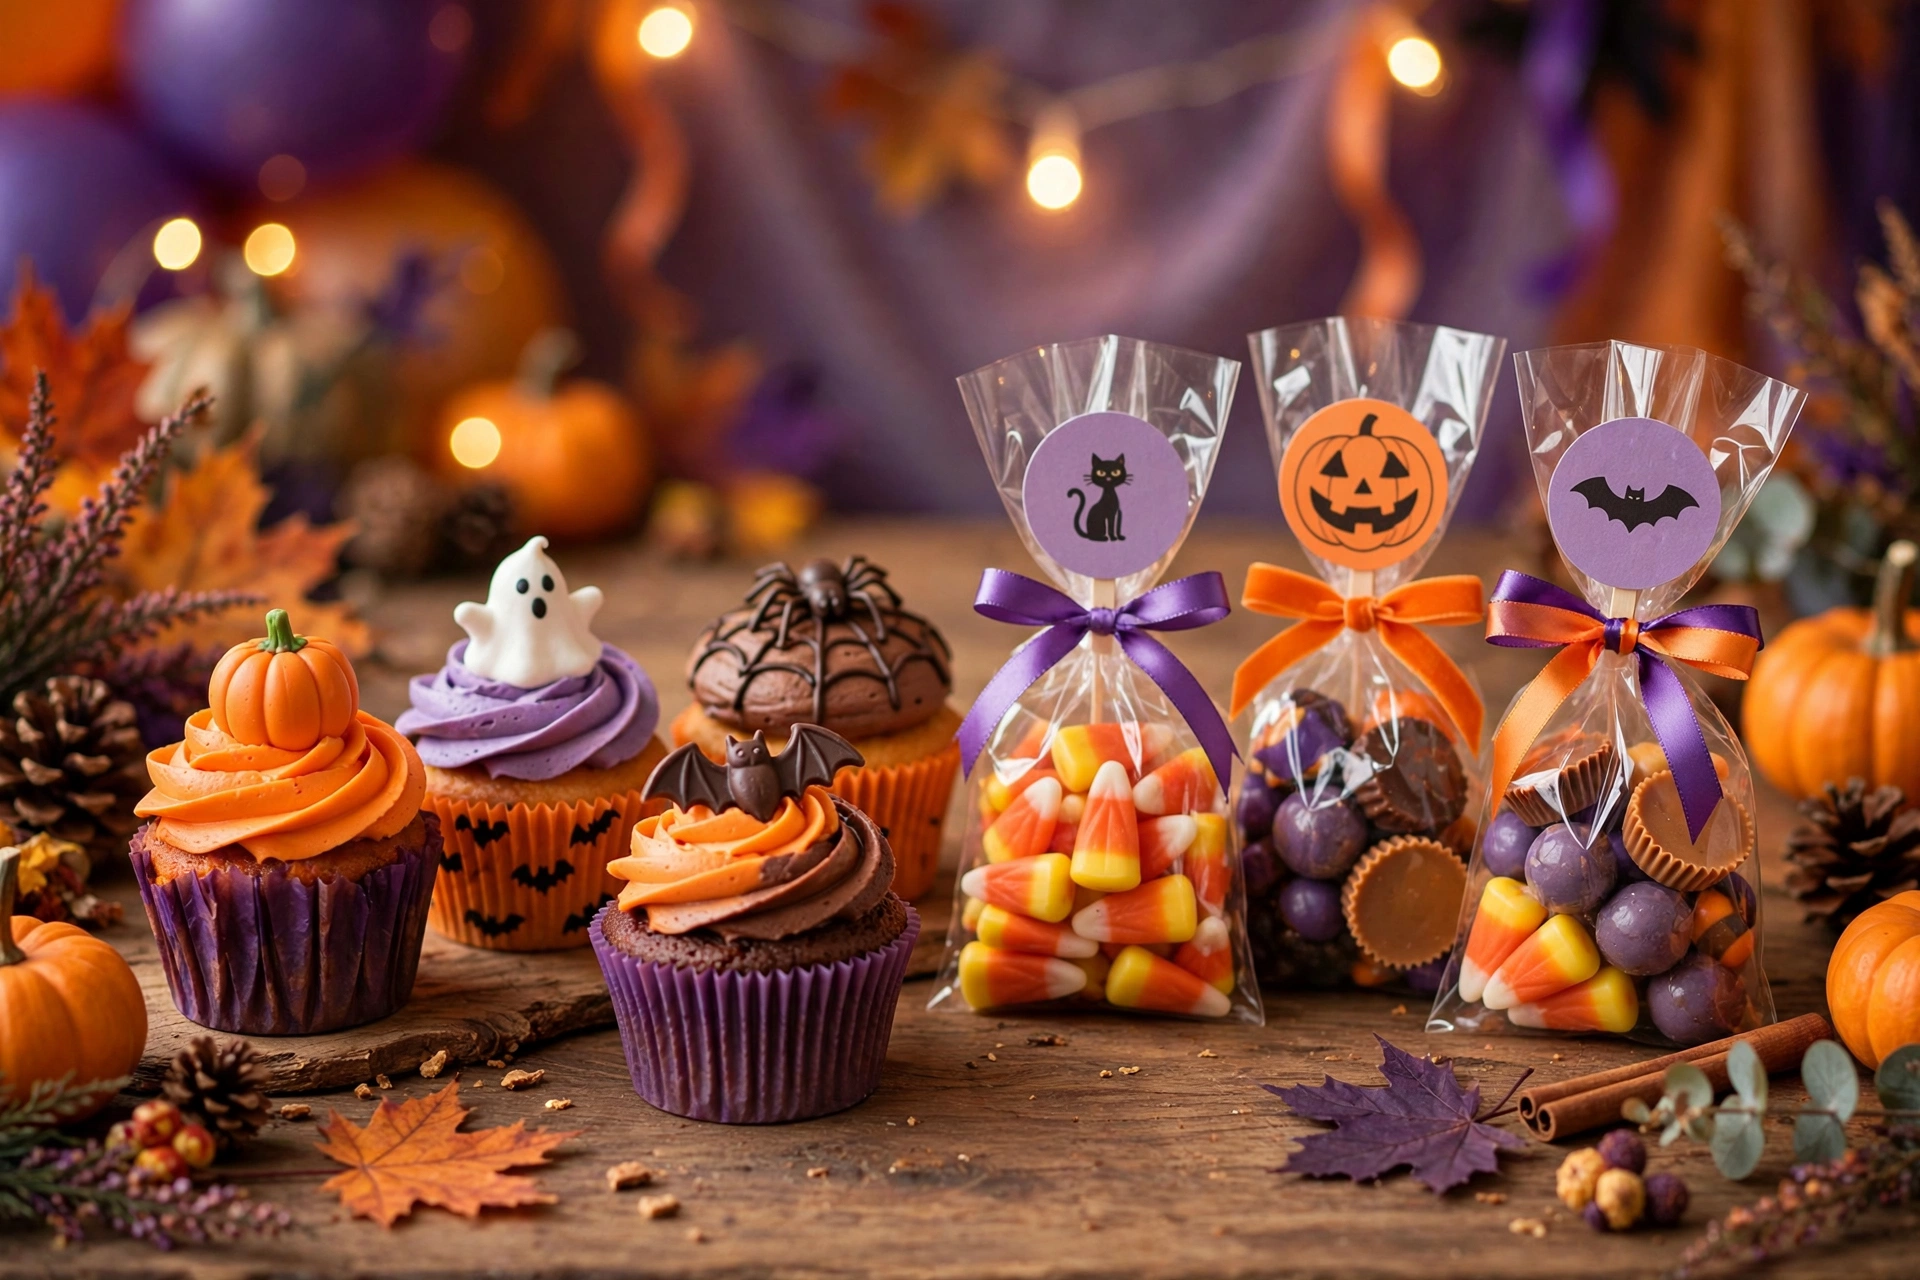
- Party favor tags — punch a hole, thread ribbon through, and tie onto treat bags.
- Food labels — write dish names on the back and stick them into appetizers and dips.
- Drink stirrers — tape to the top of a straw or swizzle stick for the punch bowl.
- Mini garland — string a row of them on twine and hang across the dessert table.
- Place cards — write guest names on the back for a seated Halloween dinner.
Printing Tips for the Best Results
- Use your printer’s best or photo quality setting. Draft mode washes out the oranges and purples that make these pop.
- Let the ink dry for a few minutes before cutting, especially with inkjet printers — smudged ghosts are sad ghosts.
- If colors look dull, check that you are printing on the correct side of photo paper (the coated side) if you use it.
- Print a test page on regular paper first to check sizing before using your good cardstock.
Get the Premium 48-Design Topper Pack
Twelve free designs are a great start — the Fukroo Halloween Party Decor Bundle adds 36 more topper designs, matching banners, food labels, favor tags, and cupcake wrappers in coordinated themes.
Frequently Asked Questions
What size are the toppers?
Two inches across — the standard size that looks right on regular cupcakes without overwhelming them. For mini cupcakes, print at 70% scale.
Can I use these on store-bought cupcakes?
Absolutely. That is honestly their best use. A tray of plain grocery-store cupcakes plus these toppers looks like you hired a decorator.
Are the toppers food-safe?
The printed circles sit above the frosting on a pick and should not touch the food directly. Use plain wooden toothpicks or food-safe lollipop sticks, and do not let the printed side rest on the frosting for hours.
 🐶
Free Pet Guides
🐶 Love Dogs Too?
 🎁
Gift Ideas
🎉 Occasion Hunters — Gifts for Every Occasion