Halloween Pumpkin Carving Templates Printable (Free)
Halloween Pumpkin Carving Templates: 10 Designs for Every Skill Level
I’ll be honest with you: my first attempt at freehand pumpkin carving was a disaster. The eyes were different sizes, the mouth looked like it was melting, and my neighbor’s five-year-old did better. That was the year I discovered carving templates, and I’ve never gone back. A printed template is the difference between a lopsided pumpkin and one that makes people slow down when they walk past your porch.
Below are ten template designs described in full detail — what each one looks like, how hard it is, and exactly how to carve it. Pick your favorites, sketch them onto your pumpkin with the transfer method below, and carve tonight.
How to Transfer a Template to Your Pumpkin
You don’t need any special transfer paper. Print your design at the size you want (or sketch it from the descriptions below), then use the poke method: tape the paper to the pumpkin, poke small holes along every line with a push pin or thumbtack, peel the paper off, and connect the dots with a marker. The dotted outline is your carving guide. For dark lines you want to cut all the way through, poke close together. For shading areas you’ll only scrape, poke wider apart.
The second method is the marker method: just draw the design directly on the pumpkin with a dry-erase marker while looking at the template. Dry-erase wipes right off the pumpkin skin, so mistakes don’t matter. I use this one for simple faces and the poke method for anything detailed.

Easy Designs (Great for Kids and First-Timers)
1. The Classic Grin
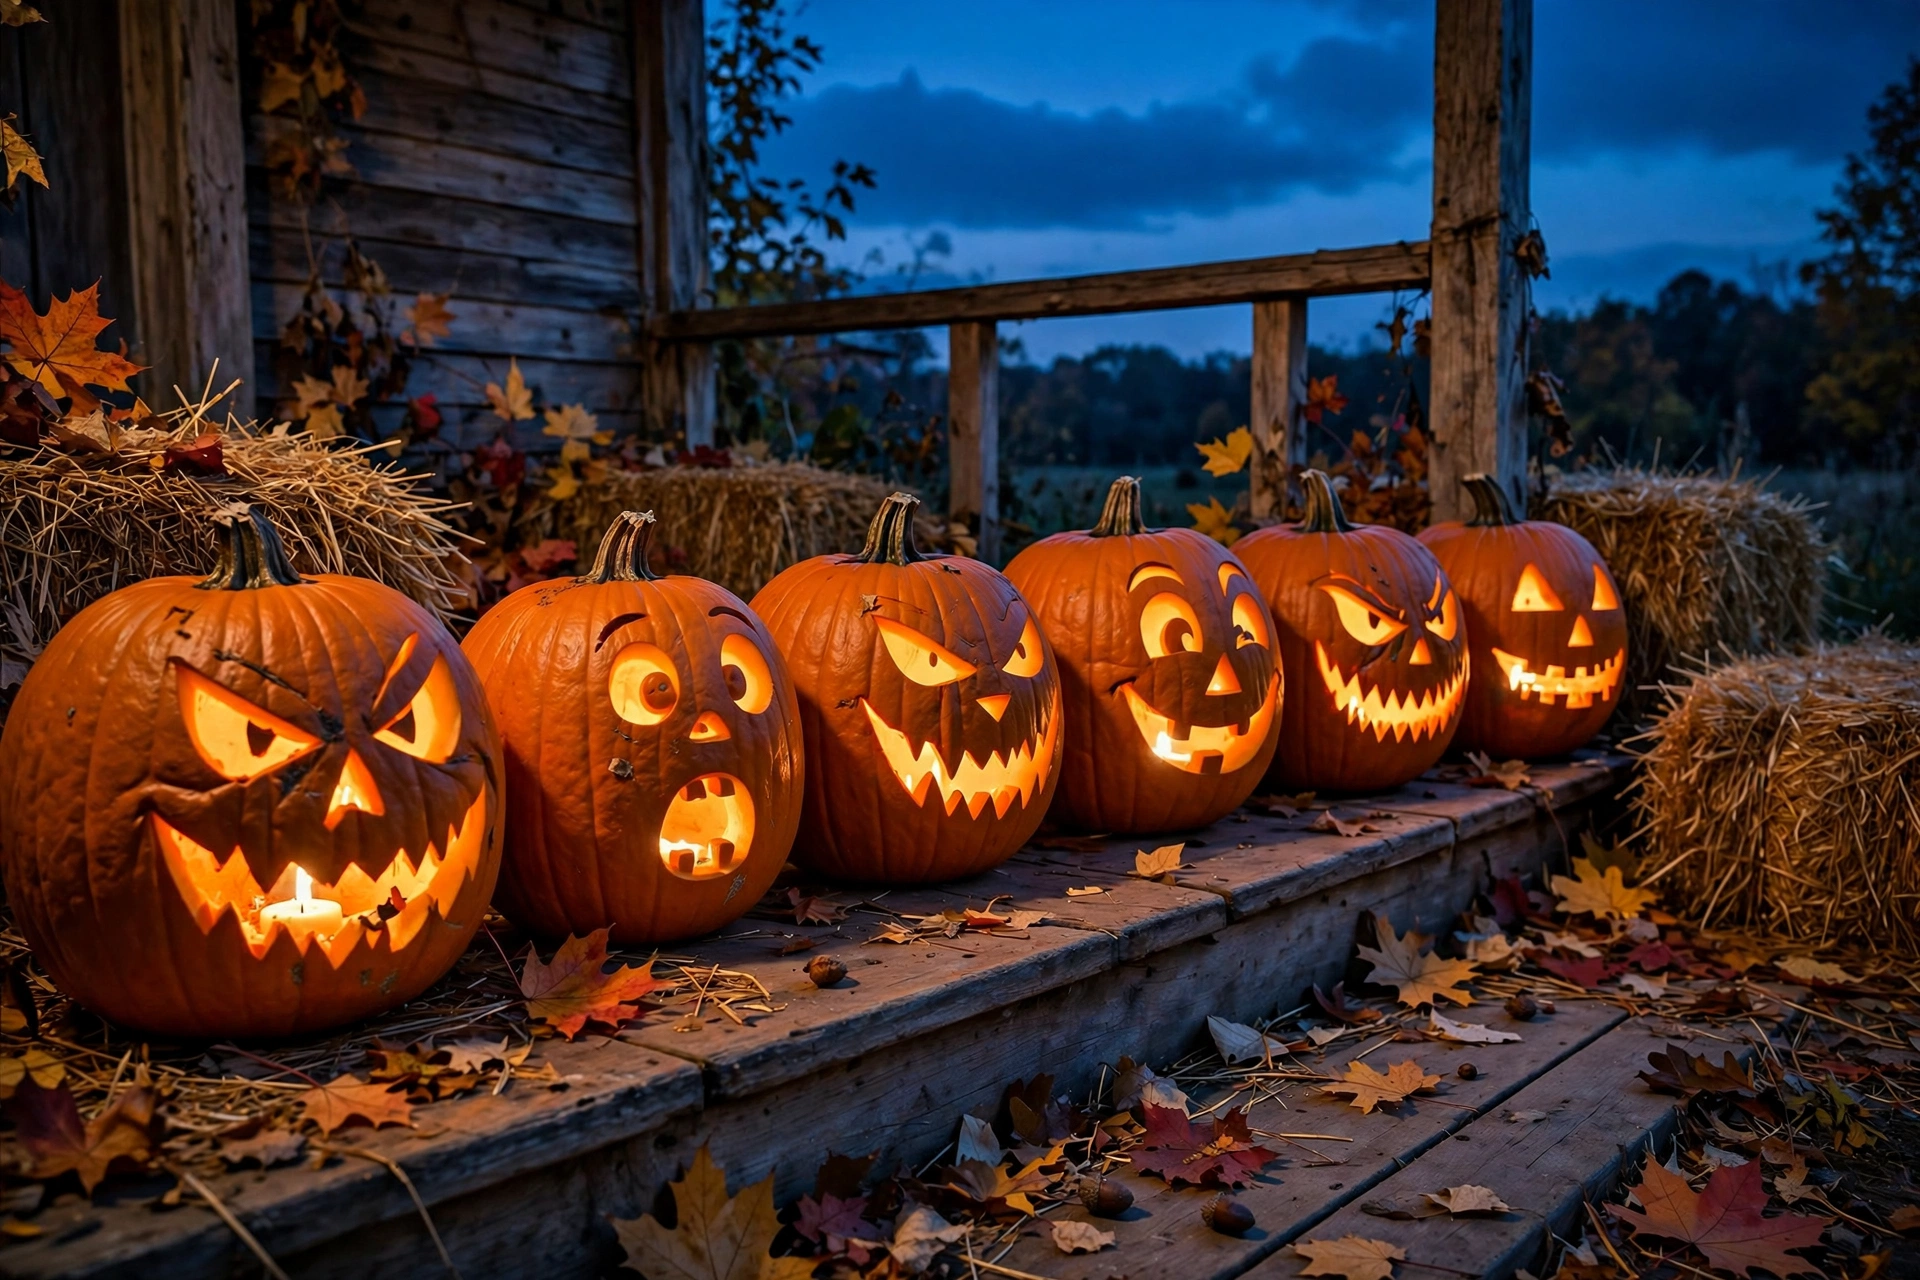
Difficulty: Easy. Two triangle eyes, a triangle nose, and a wide jagged smile with three points on top and three on the bottom. This is the jack-o’-lantern everyone pictures, and it’s easy because every shape is simple and forgiving — slightly wobbly triangles still look great lit up. Cut all shapes completely through. Kids can do the poking while an adult handles the knife.
2. Sleepy Pumpkin
Difficulty: Easy. Two curved lines for closed happy eyes (like upside-down U shapes), a small round nose, and a gentle curved smile. Nothing pointy, nothing scary. This one is perfect for toddlers’ first pumpkin because there are no sharp corners to carve and it looks adorable on the porch. Cut through completely.
3. Starry Eyes
Difficulty: Easy. Two five-pointed stars for eyes, a small triangle nose, and a simple open smile. The stars look impressive but they’re just straight lines — draw the star, then cut along the lines. The points glow beautifully when the candle’s lit. Cut through completely.
4. The Silly Vampire
Difficulty: Easy. Two round surprised eyes, and a big open mouth with two triangle fangs hanging from the top. The fangs are the whole joke — make them chunky, not delicate, so they don’t snap off. Cut through completely.
Medium Designs (A Step Up, Still Very Doable)
5. Black Cat Silhouette
Difficulty: Medium. An arched-back cat sitting in profile: pointed ears, curved tail curling up, whiskers optional. The trick here is that you cut the cat shape completely out so it becomes a glowing cat-shaped hole — the pumpkin skin around it stays intact. The tail is the delicate part; keep it thick. Sketch it big enough that the narrowest part of the tail is at least half an inch wide.
6. Witch on a Broom
Difficulty: Medium. The classic silhouette: pointed hat, flowing dress, broomstick horizontal, flying across a crescent moon. Cut the witch and broom all the way through, but only scrape the surface (don’t cut through) for the moon — scraping lets light glow through softly while the witch blazes bright. That contrast is what makes this design stunning.
7. Haunted House Scene
Difficulty: Medium. A crooked house with a pointed roof, two glowing windows, a crooked chimney, and a dead tree beside it. Cut the windows all the way through and scrape the rest of the house outline so it glows dimmer than the windows. The dead tree is just a few branching lines — scrape those lightly. This one looks far harder than it is.
8. Spider Web Corner
Difficulty: Medium. A spider web spreading from one corner of the pumpkin: curved lines radiating out, connected by scalloped arcs, with a chunky spider hanging from one thread. Scrape the web lines (don’t cut through — they’d be too thin and would collapse) and cut the spider’s body through. The web glows like frosted glass when lit from inside, which looks incredible.

Hard Designs (For the Ambitious)
9. The Skull
Difficulty: Hard. A realistic skull: large eye sockets, nose cavity, and individual teeth along the jaw. This one is all about the teeth — scrape each tooth shape lightly instead of cutting, leaving thin skin between them so they read as separate teeth when lit. Cut the eye sockets and nose all the way through for maximum drama. Take your time; rushing the teeth ruins it.
10. Owl in the Moonlight
Difficulty: Hard. A big-eyed owl perched on a branch with a full moon behind it. Scrape the moon and the owl’s body feathers for soft glow, cut the eyes through completely so they blaze. The feather texture is dozens of short scraped strokes — tedious but gorgeous. This is the design that gets photographed by neighbors.
The Carving Process, Step by Step
Step 1: Pick the right pumpkin. Choose one with a flat bottom so it sits steady, smooth skin without soft spots, and a stem that’s firmly attached. Bigger pumpkins are easier to carve detailed designs on — small ones are only good for simple faces.
Step 2: Cut the lid. Cut a circle around the stem, angling the knife inward so the lid doesn’t fall through. Some people cut the bottom instead — it makes placing the candle easier and the stem stays pretty on top. Either works.
Step 3: Scoop it clean. Scrape the inside walls until they’re about an inch thick. Thin walls let more light through and are easier to carve. Save the seeds for roasting — rinse them, toss with oil and salt, roast at 350°F for about 15 minutes.
Step 4: Transfer and carve. Tape your template on, poke your guide dots, and carve with a serrated pumpkin saw using a gentle back-and-forth motion. Always cut away from your body. For scraping, use a clay loop tool or even a spoon edge to shave off just the outer orange skin.
Step 5: Light it safely. Real candles give the best flicker, but battery tea lights are safer and last longer — and honestly, on a windy porch, they’re the smarter choice. If you use a real candle, never leave it unattended.
Make Your Pumpkin Last Longer
A carved pumpkin usually lasts 3 to 5 days before it starts sagging. To stretch that: keep it out of direct sun during the day, bring it inside on warm afternoons, and rub a thin layer of petroleum jelly on the cut edges to seal in moisture. Carve no earlier than 2 to 3 days before Halloween if you want it looking fresh on the night.
Get the Full Premium Printable Bundle
These ten designs will absolutely get you carving tonight. But if you want a whole library to choose from — dozens of printable templates across every difficulty level, sized and ready to tape straight onto your pumpkin, plus the transfer guide and a carving party checklist — the full premium printable bundle on Etsy has you covered. Print the whole pack, let everyone pick their favorite, and turn carving night into the main event.
 🐶
Free Pet Guides
🐶 Love Dogs Too?
 🎁
Gift Ideas
🎉 Occasion Hunters — Gifts for Every Occasion