Halloween Pumpkin Painting Party: Free Printable Guide + Design Sheets
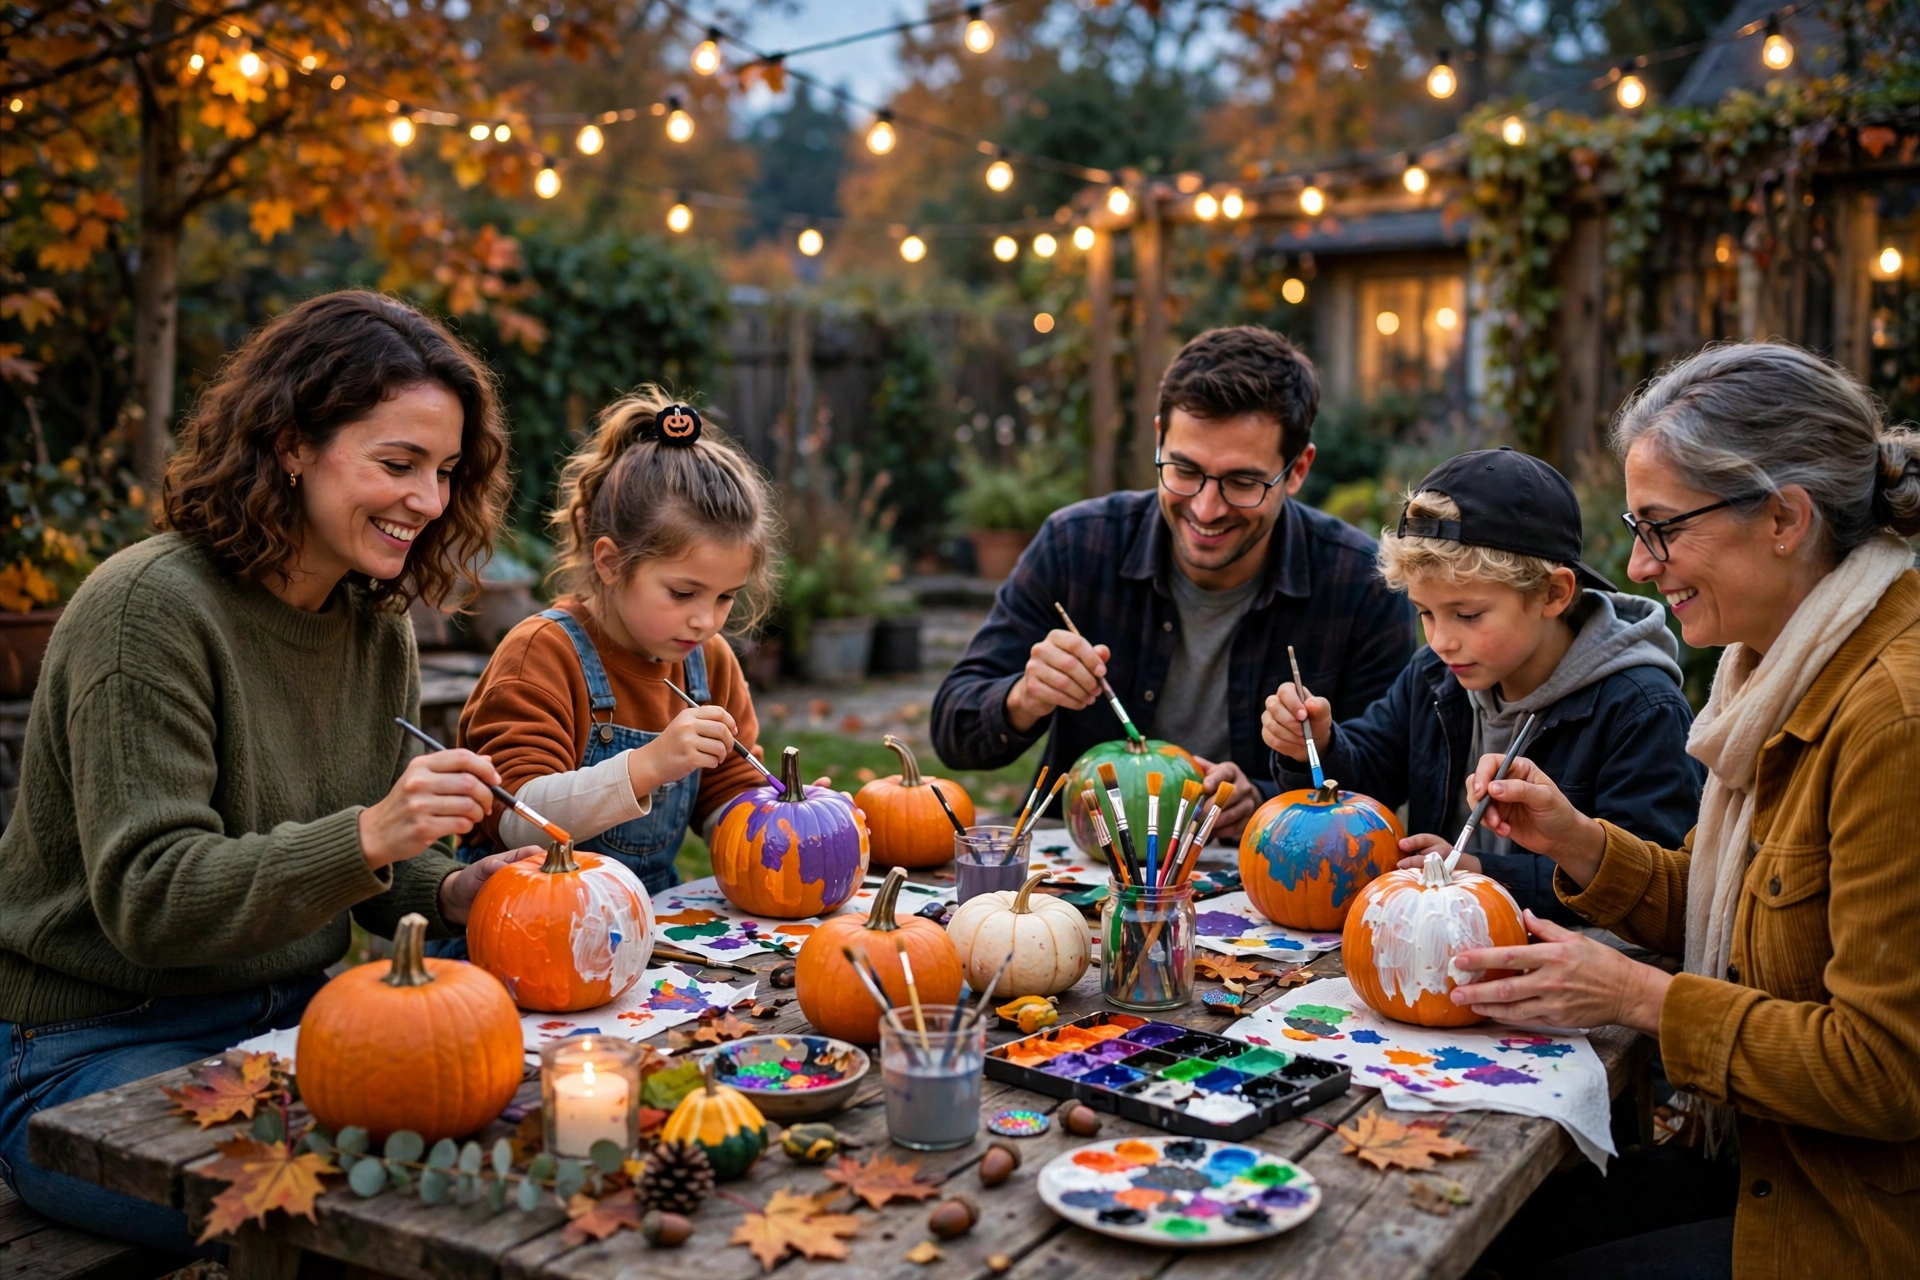
A pumpkin painting party is my favorite kind of Halloween gathering. No sharp tools, no messy carving guts on the kitchen floor, and no age limit on who can join in. Kids paint, grown-ups paint, and everyone leaves with a pumpkin they are actually proud of. If you have been looking for a Halloween party idea that is creative without being chaotic, this is the one I recommend first.
The idea is simple. You set up a painting station, hand everyone a pumpkin and some paints, and let them design their own pumpkin masterpiece. Some guests paint spooky faces. Some paint polka dots, stripes, and glittery swirls. Some paint their pumpkin to look like a favorite character. There is no wrong answer, and that is the whole point. This guide walks you through the full party, from the guest list to the last wiped table, with free printable sheets to keep it organized.
Why Painting Beats Carving for a Party
Carving is fun, but it is a hard party activity. Knives and groups of excited kids do not mix well, and carving takes a long time before anyone sees a result. Painting flips that. A child can finish a painted pumpkin in twenty minutes and carry it home the same day. Adults who have never carved a pumpkin in their lives can still paint a beautiful one.
Planning Your Pumpkin Painting Party
Start with the guest list and the pumpkin count. Plan one pumpkin per guest, plus two or three extras for late arrivals and the inevitable dropped pumpkin. Small to medium pumpkins work best. They are easier for kids to hold, cheaper to buy in bulk, and they dry faster than giant ones. Look for pumpkins with a flat bottom so they sit steady on the table while guests paint.
Paint Types and Supplies: What Actually Works
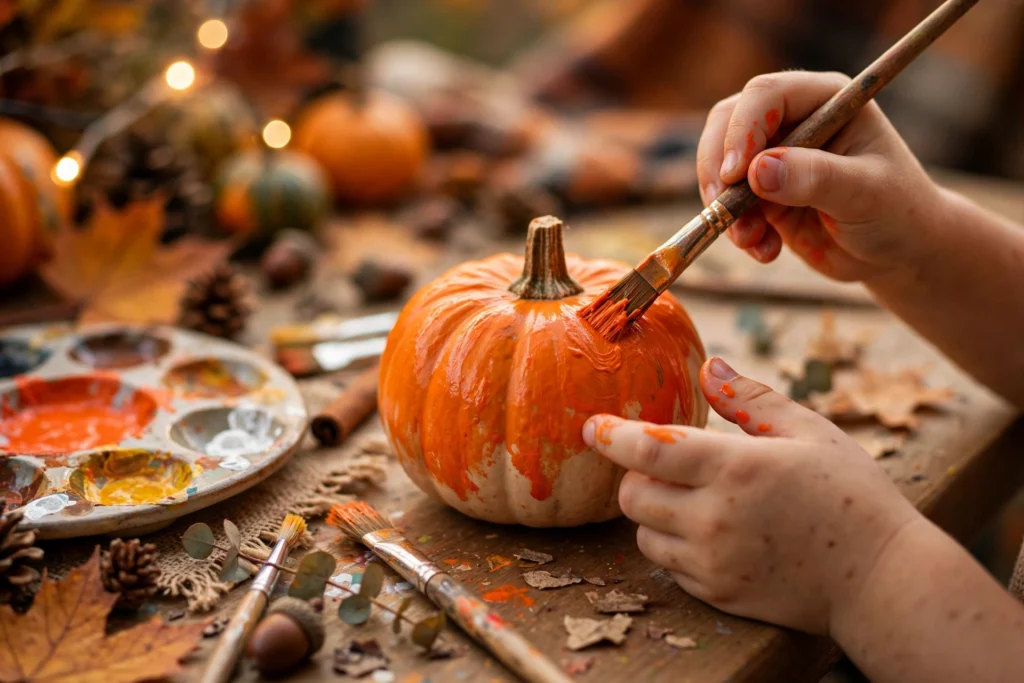
Acrylic craft paint is my top pick for pumpkin painting. It sticks to pumpkin skin, dries fast, and gives bright, solid color in one or two coats. Washable tempera paint works well for younger kids because it washes off hands and clothes more easily, though the colors can look a bit thinner. Spray paint can give a fast base coat for adults, but keep it outdoors and away from kids, and let adults handle that step before the party if you want an even background color.
Here is the supply list I use for a party of ten guests:
- 12 small to medium pumpkins, washed and dried
- Acrylic craft paint in orange, black, white, purple, green, yellow, and pink
- One paint palette or paper plate per guest
- Brushes in three sizes: wide flat brushes, medium round brushes, and fine detail brushes
- Foam dabbers and cotton swabs for dots and tiny details
- Cups of water for rinsing brushes, plus paper towels
- Table covers, old shirts or aprons, and a roll of painter’s tape
- Optional extras: glitter glue, googly eyes, stickers, and ribbon for stems
Setting Up the Painting Station
Cover your tables first, then set up second. I use plastic tablecloths with newspaper underneath, because paint soaks through a thin cloth faster than you expect. Give each guest a paper plate palette, two brushes to start, and a cup of water. Put shared paint bottles in the middle of the table so guests can squeeze out what they need without passing bottles back and forth all afternoon.
The Party Flow: Hour by Hour
First 30 Minutes: Arrive, Snack, and Pick a Pumpkin
Welcome guests with snacks and let them pick their pumpkin right away. Picking a pumpkin is part of the fun, and guests start picturing their design the moment they hold one. Put out a snack table away from the paint, with finger foods that do not need plates and forks. Apple slices, pretzels, cheese cubes, and Halloween cookies work well, and a pitcher of cider or lemonade keeps everyone happy.
Next 15 Minutes: Design Time With the Design Sheets
Before anyone opens a paint bottle, hand out the free printable design sheets. Each sheet has three blank pumpkin outlines where guests can sketch their idea in pencil first. I love this step because it turns a blank pumpkin from scary into exciting. Guests who sketch first tend to paint with more confidence, and kids who are shy about art get a low-pressure way to try an idea before it goes on the real pumpkin.
Next 45 Minutes: Paint
Now the real fun starts. Let guests paint at their own pace, and walk around with extra paint and encouragement. Remind everyone to let one color dry for a few minutes before painting a second color right next to it, or the colors will smear together. For kids, a hair dryer on a low, cool setting can speed up drying between layers, and they think it is magic.
Last 30 Minutes: Dry, Display, and Say Goodbye
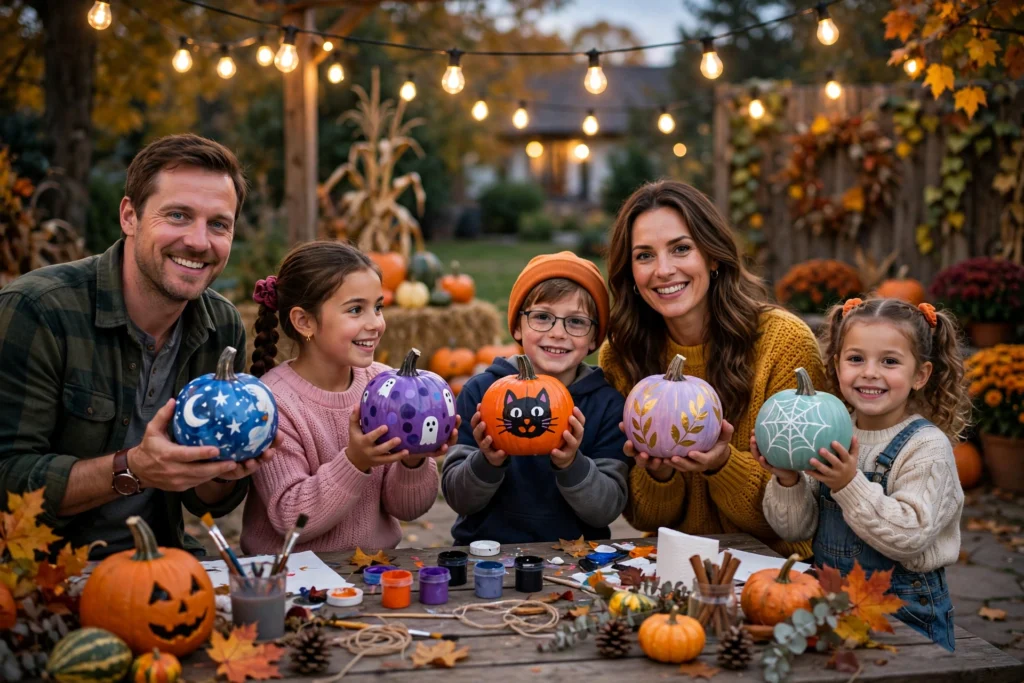
Move finished pumpkins to the drying table and give them time to set. While they dry, gather the group for a photo with everyone holding their pumpkin. This is the moment guests remember, so take a few shots and offer to send them to everyone after the party. Hand out small treat bags as guests leave, and remind them to carry their pumpkin by the stem or the bottom, not by a freshly painted side.
Design-Sheet Ideas Guests Love
The design sheets in the free printable pack include blank pumpkin outlines, a face-parts page with eyes, noses, and mouths to mix and match, and a pattern page with stripes, dots, zigzags, and checkerboards. Here are the designs I see most often at parties, and each one works for beginners:
- Classic Friendly Face: triangle eyes, a wide smile, and a green stem. Simple, cheerful, and perfect for first-time painters.
- Candy Corn Pumpkin: white on top, orange in the middle, yellow at the bottom. It looks impressive and takes only three colors.
- Galaxy Pumpkin: a dark purple or black base with gold and white dots for stars. Add a swirl of pink for a nebula effect.
- Monster Pumpkin: one big eye or three small eyes, a toothy grin, and bright green or purple skin. Kids love this one best.
- Fall Pattern Pumpkin: stripes, polka dots, and leaves in autumn colors. No face needed, and it looks lovely on a front porch.
Drying and Cleanup Plan
Acrylic paint feels dry to the touch in about twenty to thirty minutes, but give pumpkins a full hour before stacking or bagging them. If guests need to leave sooner, a cool hair dryer and a careful carry will get them home safely. Tell guests not to wrap a wet pumpkin in plastic, since trapped moisture can smudge the paint.
Free Printable: What Is in the Pack
The free printable pack for this party includes a one-page hosting checklist, a supply list you can check off at the store, three design sheets with blank pumpkin outlines, and a set of name tags for the drying table. Print one hosting checklist for yourself and one design sheet set per guest. The sheets are designed in black and white so they print cleanly on any home printer.
Want the Designed Bundle?
The free pack above covers your party from start to finish, and the designed bundle adds polished design sheets in more styles, matching invitations, table signs, and drying-table name cards in a coordinated Halloween look. Get the printable bundle at fukroo.etsy.com.
 🐶
Free Pet Guides
🐶 Love Dogs Too?
 🎁
Gift Ideas
🎉 Occasion Hunters — Gifts for Every Occasion