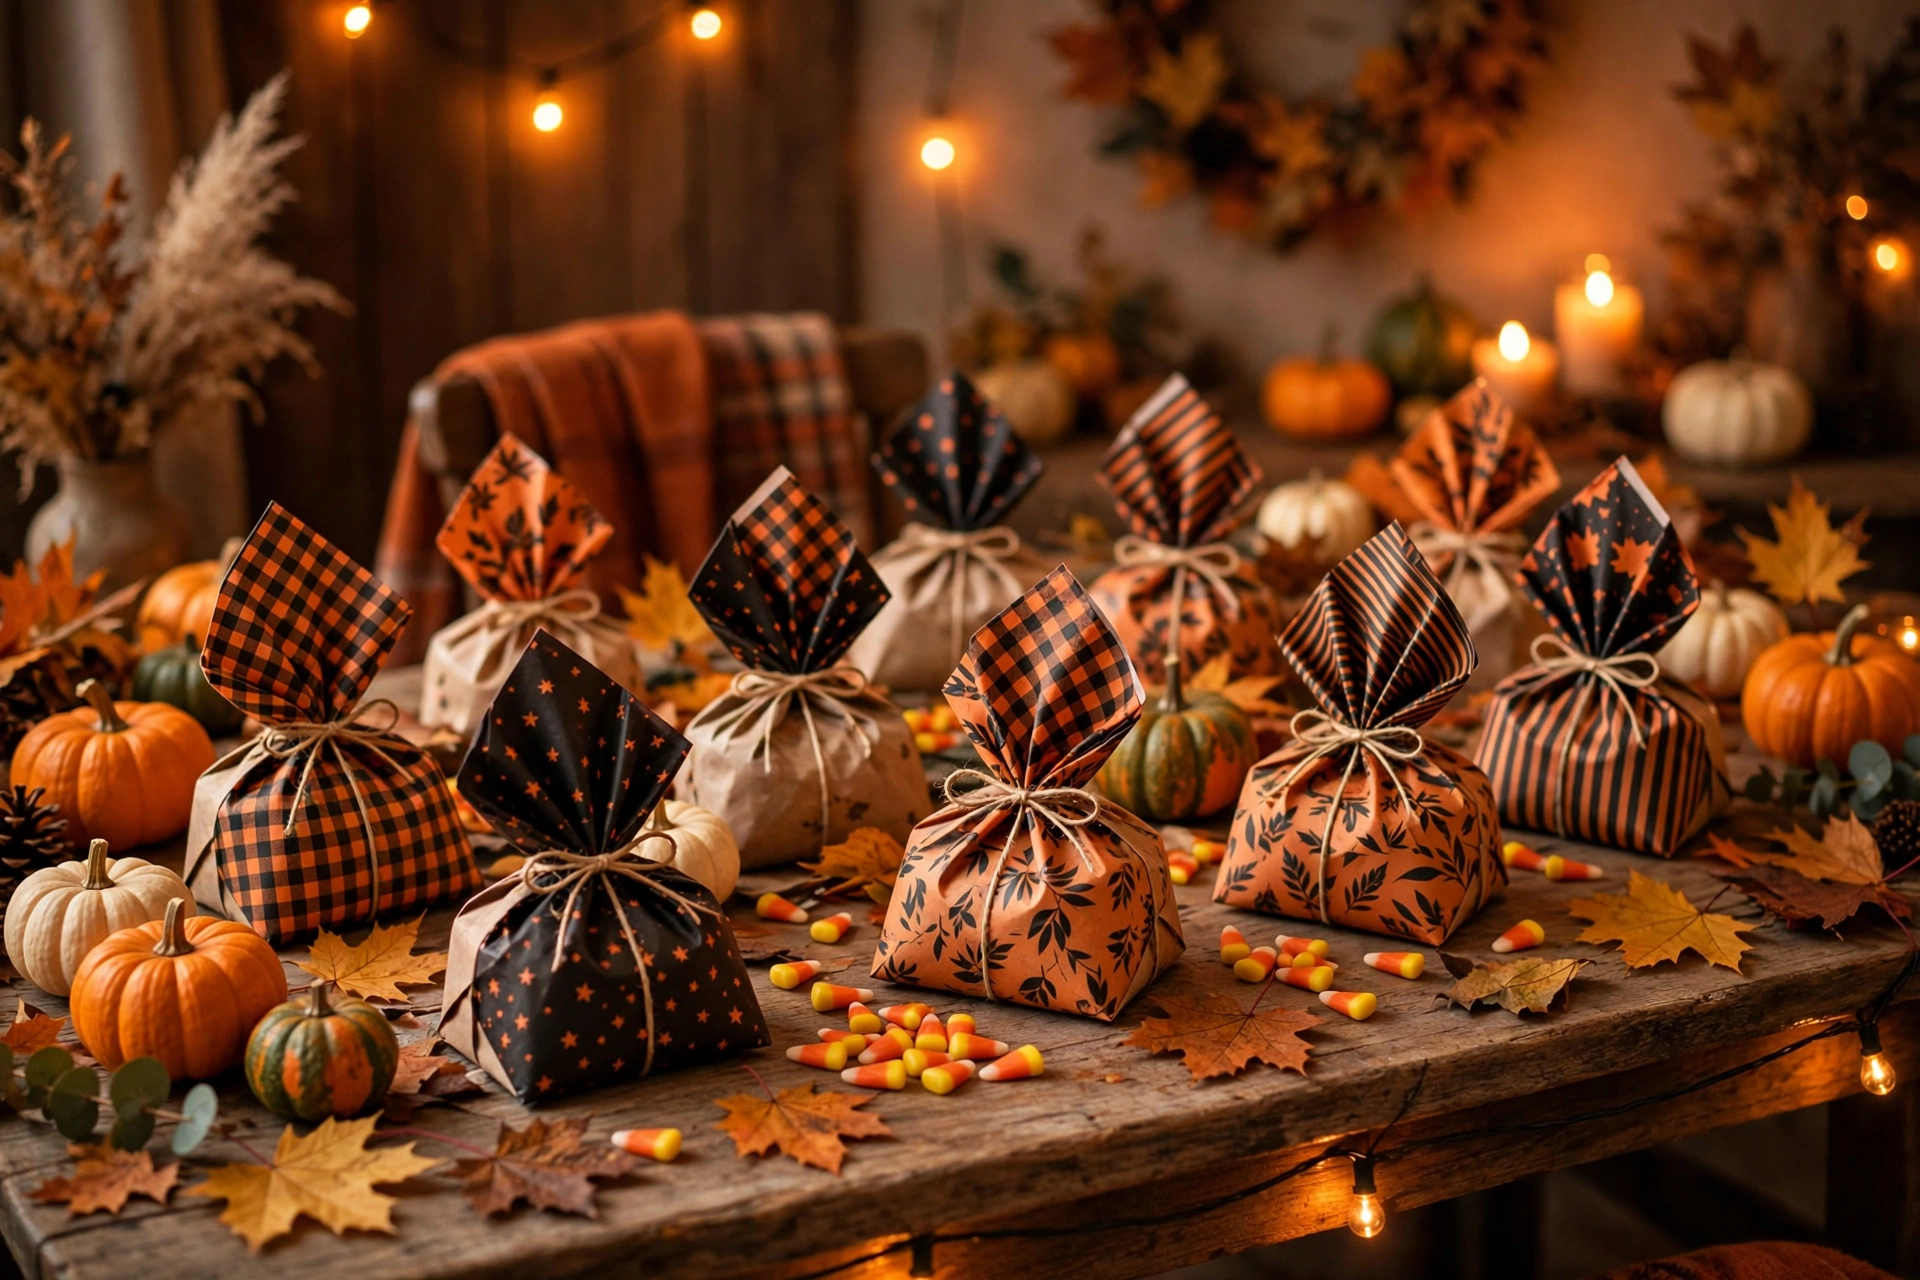
Free Printable Halloween Treat Bag Toppers: 6 Designs for Boo Baskets & Classrooms
Here’s a truth about Halloween parties nobody talks about: the treat bags matter almost as much as the games. A kid who goes home with a plain plastic baggie of candy forgets it by November. A kid who goes home with a bag sealed by a little folded topper that says “Happy Haunting!” keeps that topper on their dresser for a month.
Treat bag toppers are folded cards that staple or tape over the top of a cellophane treat bag — instant upgrade from “bag of candy” to “party favor.” Below are six printable topper designs with the exact sayings, the fold instructions, and the assembly steps, all written out so you can make a classroom’s worth tonight. Free, as always. The designed set lives in our Etsy shop, linked at the end.
What Exactly Is a Treat Bag Topper?
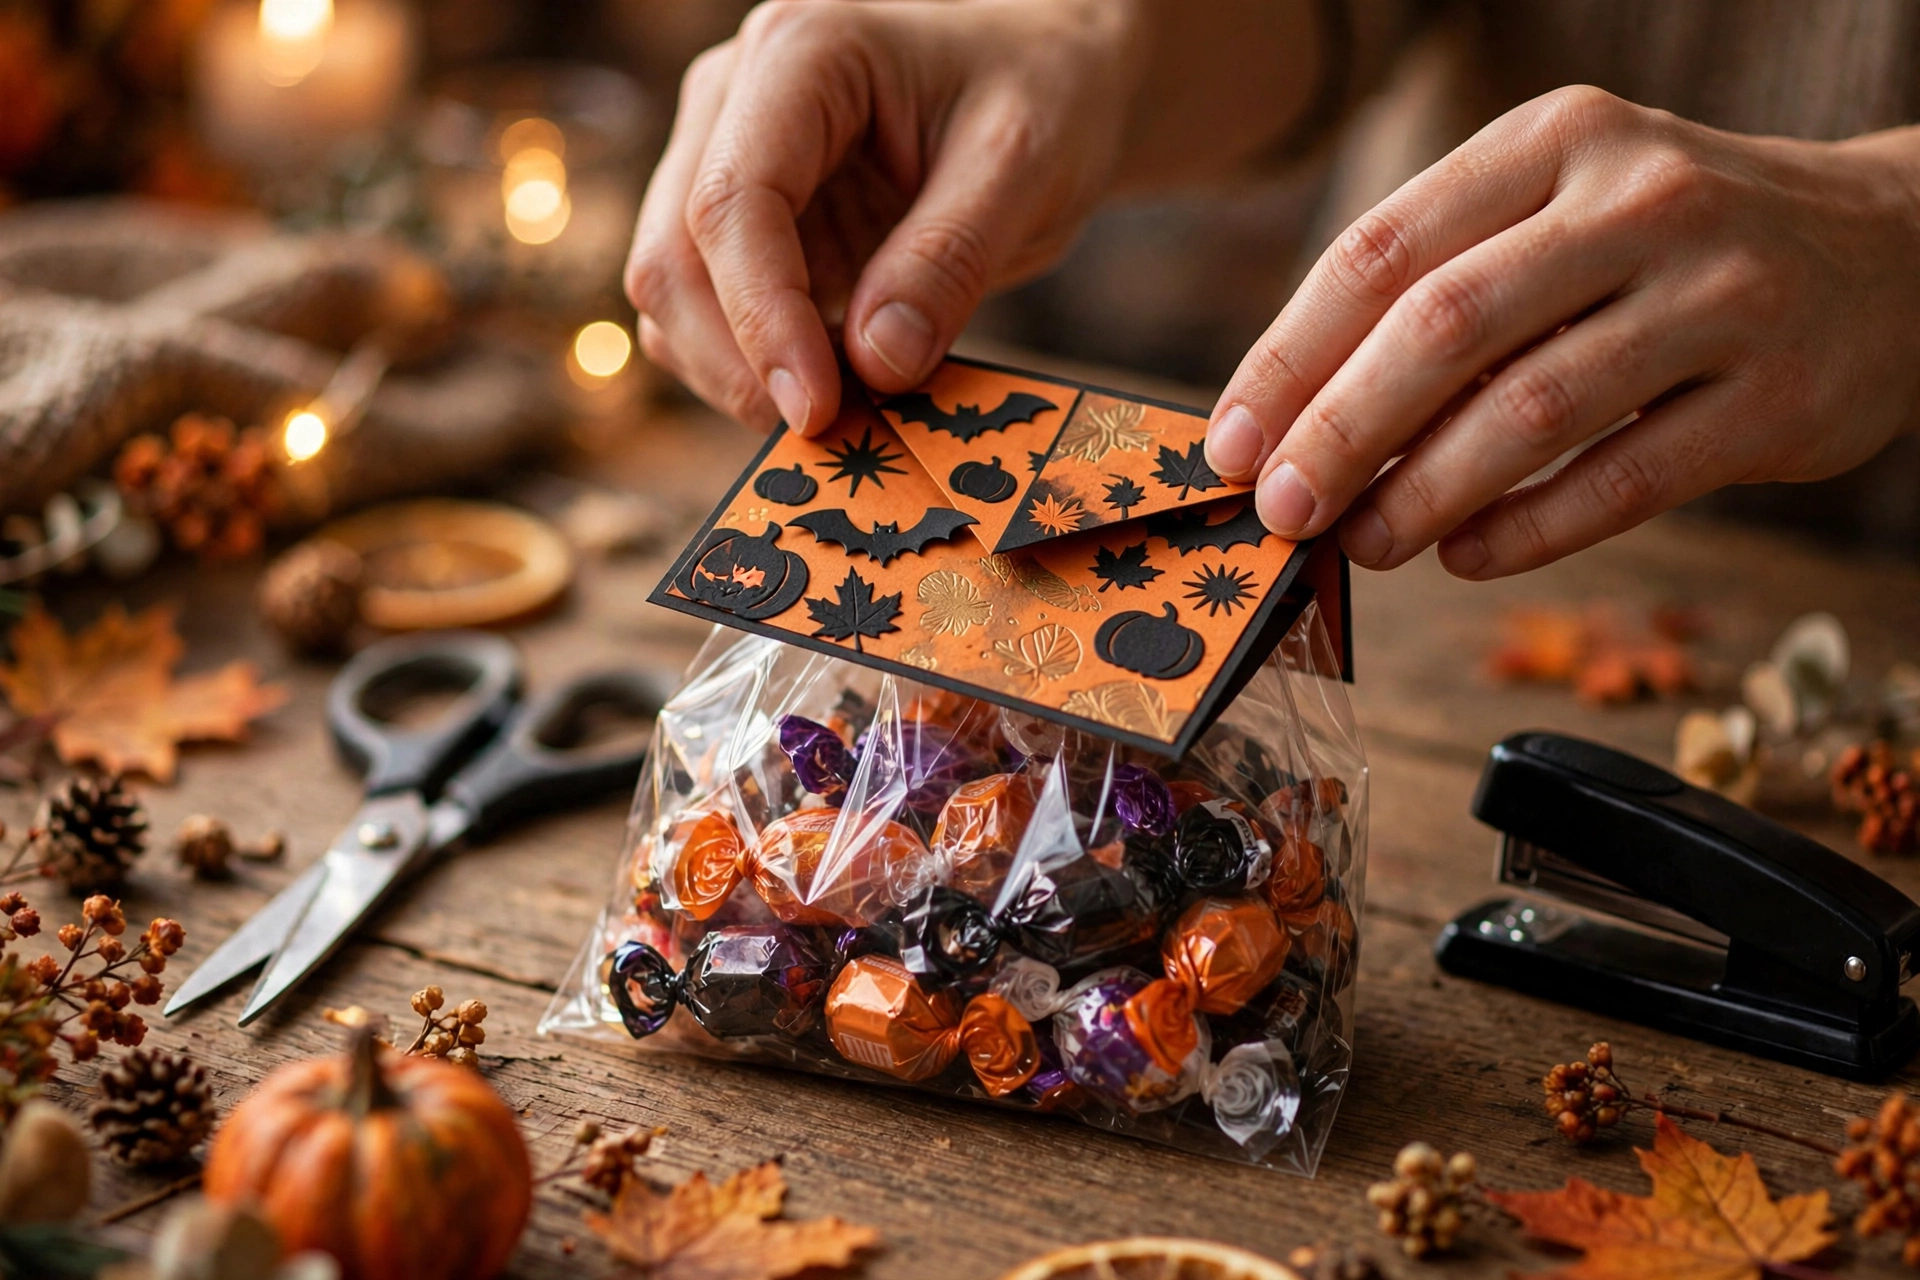
Picture a standard clear cellophane bag filled with candy. Now fold a 4×6-inch decorated card in half over the top and staple it twice. The card seals the bag, hides the staples, and gives you a front and back panel for designs and sayings. That’s the whole craft. It takes about thirty seconds per bag once you’re in a rhythm, and the result looks like something from a party supply store.
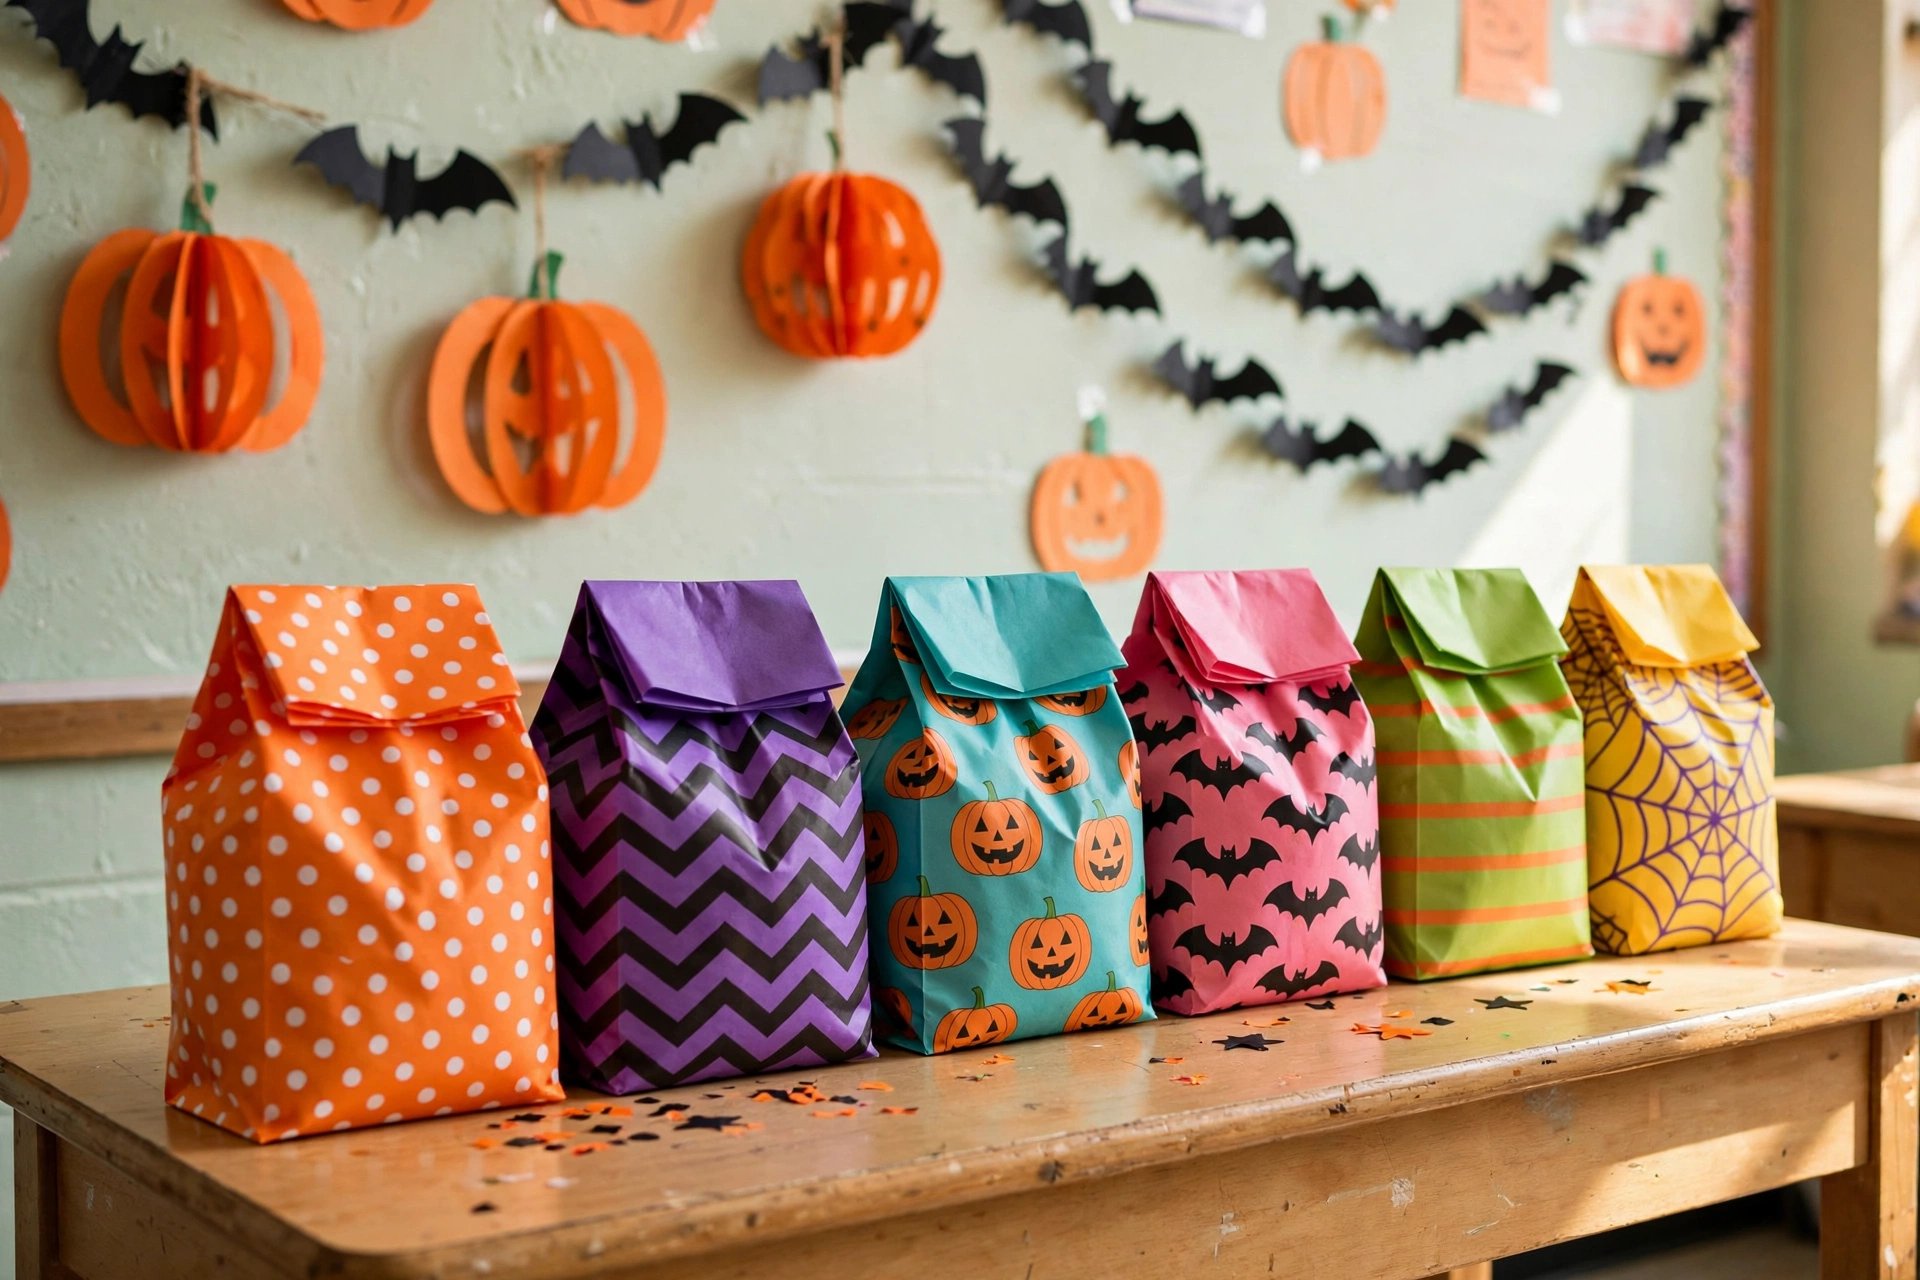
Toppers are perfect for classroom treat exchanges (teachers love them because the bags stay sealed and nut-free policies stay visible if you write them on the back), boo baskets for neighbors, trick-or-treat handouts that stand out from the bowl, and party favor tables.
What You Need
- Cellophane treat bags — the 4×6-inch flat bags are the standard; the 5×7-inch bags work for bigger hauls. Get the kind with no gusset (flat sides) so the topper folds cleanly.
- Cardstock — white or orange, 65 lb or heavier. Regular printer paper flops; cardstock stands up.
- The six topper designs below — printed, cut, and folded.
- A stapler or double-sided tape. Staples are faster and hold better; tape looks cleaner. Your call.
- Candy and small fillers — wrapped candy only for classrooms. For home parties, add stickers, temporary tattoos, mini erasers, or plastic spiders.
- Scissors or a paper trimmer. A trimmer turns 30 toppers from a chore into a ten-minute job.
The Six Printable Topper Designs
Each topper is a 4×6-inch card, folded in half to 4×3 inches over the bag. Front panel gets the design and saying; back gets your message. Print, cut, fold on the center line, fill the bag, fold the topper over, staple twice.
Topper 1 — “Happy Haunting!” (Classic Pumpkin)
FRONT: Big jack-o’-lantern grin design. Saying: “Happy Haunting!”
BACK: “Wishing you a spooky-sweet Halloween!” + From: __________
The all-rounder for classrooms, neighbors, and coworkers.
Topper 2 — “You’ve Been Booed!” (Ghost)
FRONT: Friendly ghost design. Saying: “You’ve Been Booed!”
BACK: “Leave this treat on a neighbor’s door, ring the bell, and run! Keep the boo going.” + From: __________
The boo-basket classic. If you’re doing the neighborhood “boo” chain, this is the topper the whole tradition was built for.
Topper 3 — “Eat, Drink & Be Scary” (Witch Hat)
FRONT: Witch hat design. Saying: “Eat, Drink & Be Scary”
BACK: “Thanks for making our party fang-tastic!” + From: __________
The party-favor one. Hand these out as guests leave your Halloween party and you’ll get texts about them the next day.
Topper 4 — “Creepin’ It Real” (Spider Web)
FRONT: Spider web design. Saying: “Creepin’ It Real”
BACK: “You’re a real treat! Happy Halloween!” + From: __________
The tween-approved option. My twelve-year-old niece declared this one “actually cool,” which is the highest honor her age group bestows.
Topper 5 — “Witchful Thinking” (Candy Corn)
FRONT: Candy corn design. Saying: “Witchful Thinking”
BACK: “Hope your Halloween is sweet from start to finish!” + From: __________
The pun one. Every classroom needs a pun topper. It’s the law.
Topper 6 — “Trick or Treat, Smell My Feet” (Monster)
FRONT: Goofy monster design. Saying: “Trick or Treat!”
BACK: “Give me something good to eat! Happy Halloween!” + From: __________
The little-kid favorite. The full rhyme goes on the back for the under-seven crowd, who will chant it at you. Repeatedly.
Assembly: The 30-Second Method
- Print and cut. Print the toppers on cardstock, 2–4 per sheet depending on your layout. Cut along the outer lines — a paper trimmer earns its keep here.
- Score the fold. Run a ruler edge or a butter knife lightly along the center line before folding. One light score = one crisp fold, no cracked cardstock.
- Fill the bags. 6–10 pieces of wrapped candy per bag is the sweet spot. Don’t overfill — the topper needs about an inch of flat bag to grip.
- Fold the bag top down once (about half an inch) to neaten it, then fold the topper over the bag so the front and back panels line up.
- Staple twice — once near each end, through all layers. Or run a strip of double-sided tape inside the fold and press hard for ten seconds.
- Write the “From” line on the back if you haven’t already. For classrooms, add the giver’s name so kids know who to thank.
Sizing Guide: Match the Topper to the Bag
- 4×6-inch bags → 4×6-inch topper card (folds to 4×3). The standard. Buy these if you’re unsure.
- 5×7-inch bags → scale the topper to 5×7 (folds to 5×3.5). Better for chunky fillers like play-doh cups or juice boxes.
- Rule of thumb: the topper should be exactly as wide as the bag, never wider. An overhanging topper looks sloppy and catches on everything.
When to Use Them (Beyond the Obvious)
Classroom exchanges: The sealed topper keeps everything contained and lets you write allergy info on the back (“nut-free candy only”). Teachers notice this. They remember it.
Boo baskets: Pair the “You’ve Been Booed” topper with a small basket or bucket of treats on a neighbor’s porch. It’s the lowest-effort, highest-charm Halloween tradition there is.
Trick-or-treat handouts: Pre-bagged toppers on the porch table look intentional next to the communal candy bowl.
Party favors: Match the topper design to your party theme and set a basket of them by the door. Guests take one on the way out.
Tips I Learned the Hard Way
- Do an assembly line. Cut all, fold all, fill all, staple all. Switching tasks every bag triples your time.
- Buy extra bags. Cellophane bags tear, especially at 11pm the night before the class party. A 100-pack costs a few dollars; running out costs your sanity.
- Write names with a metallic marker. Gold or silver on the back panel looks ten times fancier than ballpoint and takes the same three seconds.
Want the Designed Topper Set?
The six sayings and the assembly method above will get you through the season — print on cardstock and you’re in business. But if you’d like the designed set with illustrated front panels for all six designs, matching bag labels, and a “nut-free” back-panel option for classrooms, it’s in our Etsy shop: fukroo.etsy.com.
That’s the whole craft: cardstock, candy, fold, staple. Thirty seconds a bag, and your treats go from “candy in a bag” to the thing kids keep on their dressers. Staple twice — always twice.
 🐶
Free Pet Guides
🐶 Love Dogs Too?
 🎁
Gift Ideas
🎉 Occasion Hunters — Gifts for Every Occasion