Halloween Candy Bar Wrapper Printable: 6 Free Designs to Wrap Up the Fun
There is a specific kind of party favor that makes people gasp when they open the goodie bag: a plain chocolate bar dressed up in a Halloween wrapper. I’ve been making these for years now, and every single time someone says, “Wait, you made these yourself?” Yes. Yes I did, and it took about twenty minutes and cost me almost nothing.
This post gives you six complete Halloween candy bar wrapper designs to recreate at home, measured for standard full-size bars, fun-size bars, and Hershey’s Miniatures. Everything is written out below, so you can copy the wording, match the colors, and start wrapping tonight.
Why Wrapped Candy Bars Win Every Halloween
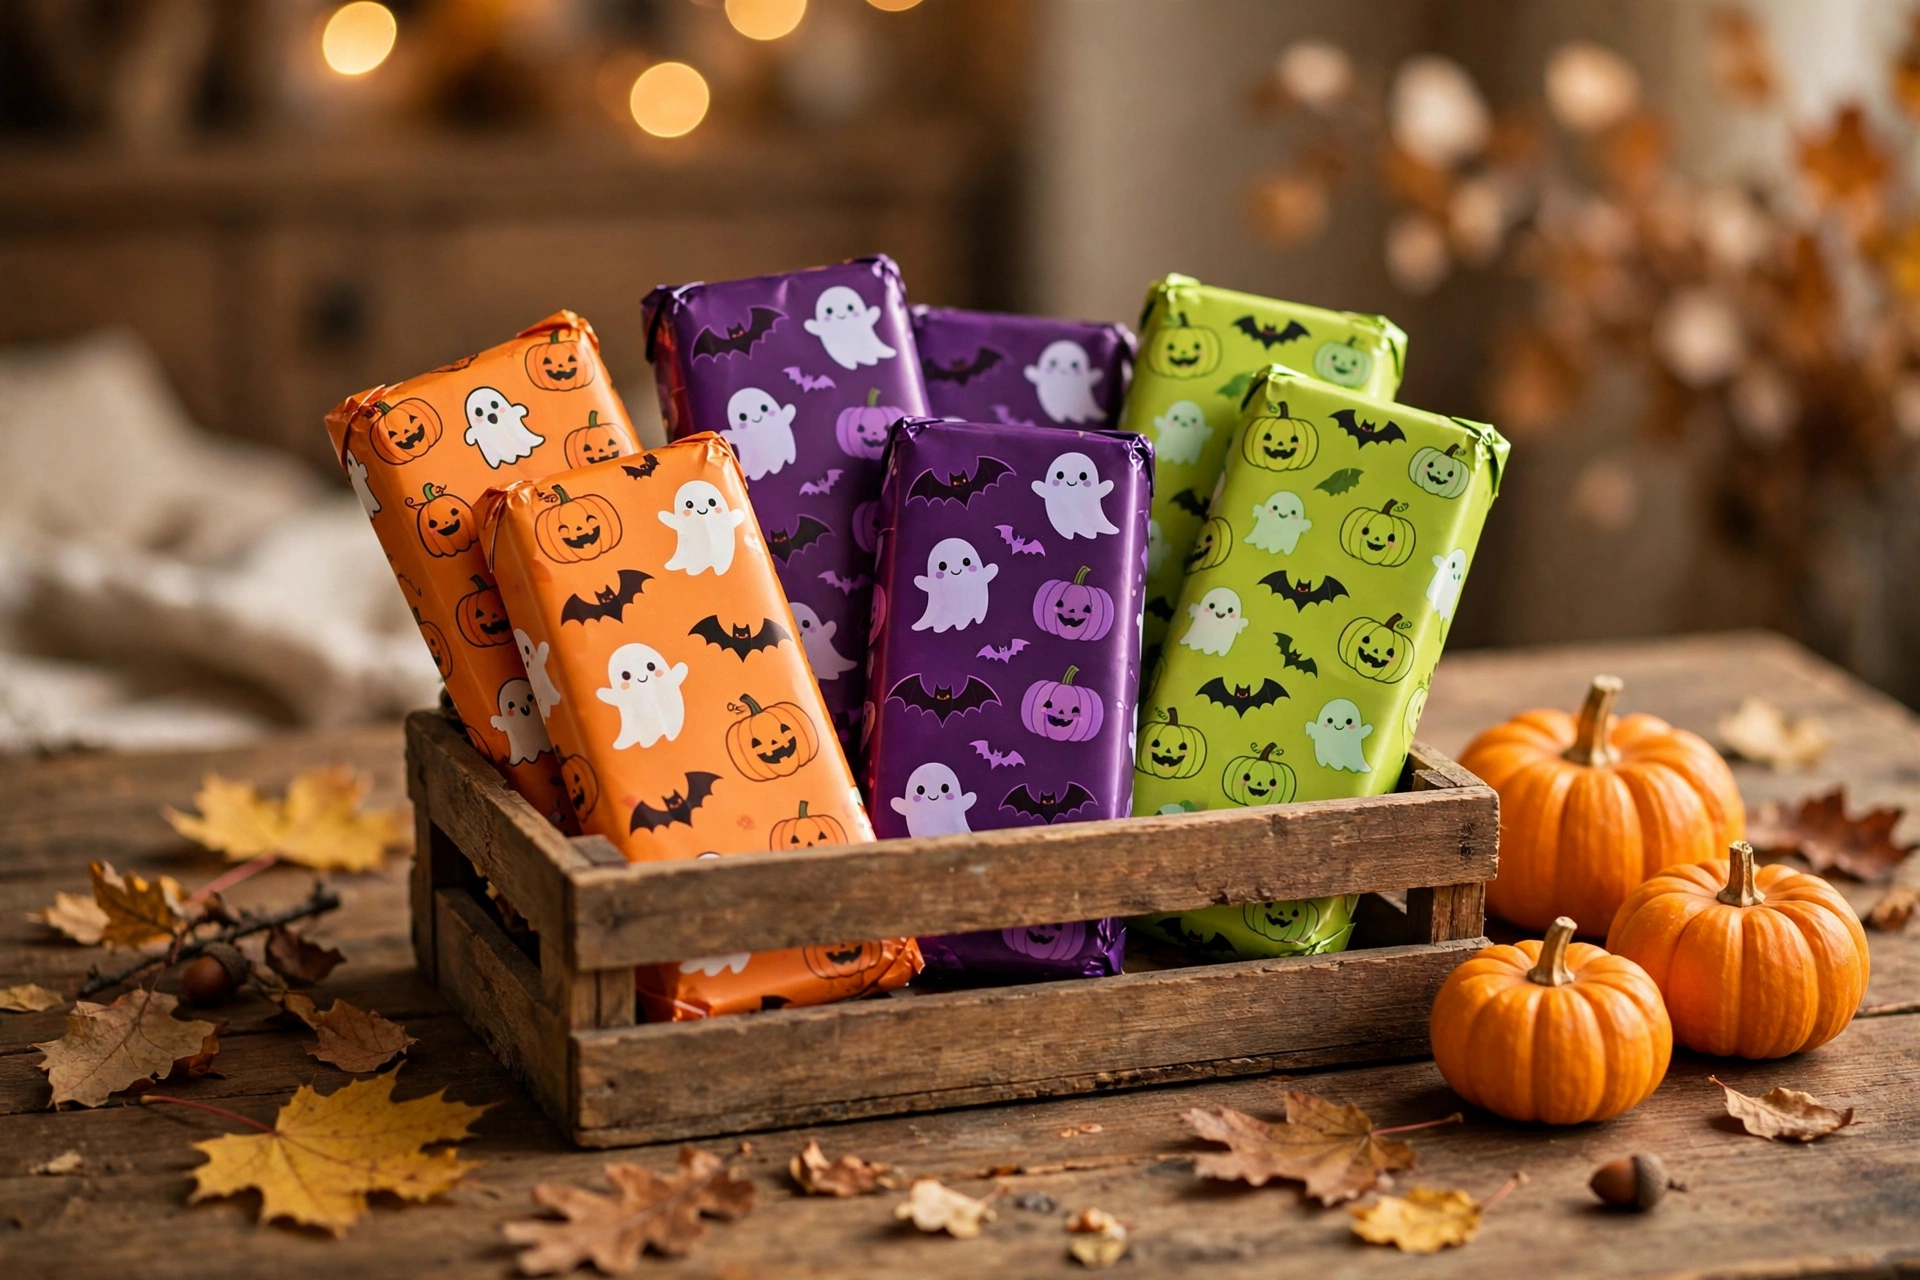
Look, nobody dislikes getting candy. But a naked candy bar in a party bag looks like an afterthought. The same bar in a pumpkin-orange wrapper with a goofy ghost face and “Happy Halloween” across the front? That’s a gift. Teachers love these for classroom treats. Hosts love them for party favors. And if you’re doing the “You’ve Been Booed” neighborhood tradition, a wrapped bar turns a plain treat drop into a real surprise.
My personal favorite use is trunk-or-treat. Everyone hands out loose candy from the trunk. One year I wrapped forty full-size bars in the “Midnight Witch” design below and stacked them in a little wooden crate. My trunk had a line. A line! For chocolate I bought on sale the week before.
What You Need
- Candy bars: standard 1.55 oz bars (Hershey’s, Crunch, Kit Kat, or similar), fun-size bars, or Hershey’s Miniatures
- Regular printer paper or cardstock (cardstock gives a sturdier, gift-shop feel)
- Scissors or a paper cutter
- Glue stick or double-sided tape
- Ruler (for scoring fold lines)
You don’t need a fancy printer. A basic inkjet does the job, and honestly the designs below are bold enough to survive a slightly tired ink cartridge.
The 6 Wrapper Designs (Recreate These at Home)
Each design fits a standard 1.55 oz bar with a wrapper sheet about 5.5 inches wide by 5 inches tall. For fun-size bars, scale to roughly 3.5 by 3 inches. For Hershey’s Miniatures, each wrapper is about 1.5 by 1.75 inches. The patterns are the same, just sized down.
1. Pumpkin Patch Party (full-size)
Background: deep pumpkin orange with a subtle polka-dot texture in a slightly darker orange. Front panel: a big grinning jack-o’-lantern face in the center, with “HAPPY HALLOWEEN” arched above it in chunky black letters. Back panel: “Trick or Treat, smell my feet, give me something good to eat!” in playful type, plus three small bats flying across the corner. This is the crowd-pleaser. Bright, classic, zero chance of scaring a small kid.
2. Midnight Witch (full-size)
Background: midnight purple fading to black at the edges. Front panel: a witch silhouette flying past a big yellow moon, with “WITCHING YOU A HAPPY HALLOWEEN” in gold letters. Back panel: a short “spell” written like a recipe — “1 pinch of moonlight, 2 cups of giggles, stir in chocolate” — which kids absolutely love reading out loud. This one photographs beautifully if you’re making party favors for Instagram or a party recap.
3. Ghostly Greetings (fun-size)
Background: soft lavender-gray. Front: three round cartoon ghosts holding hands, with “BOO!” in big white bubble letters. Back: “Have a spooky-sweet Halloween!” plus a tiny candy-corn border. The ghosts are deliberately cute, not creepy, so this design is my go-to for preschool classrooms and daycare treats.
4. Monster Mash (fun-size)
Background: slime green with darker green zigzags. Front: a one-eyed purple monster with a toothy grin, “MONSTER MASH” across the top. Back: five fill-in-the-blank Halloween jokes (“What do you call a witch who lives at the beach? A sand-witch!”). Kids trade these at school like baseball cards. True story from my nephew’s second-grade class.
5. Candy Corn Classic (miniatures)
Background: cream white with a candy-corn stripe border (orange, yellow, white triangles) top and bottom. Front: “SWEET TREAT” in orange serif letters. Back: “Thanks for stopping by!” These are perfect for trick-or-treaters you actually know — neighbors, cousins, the mail carrier. Small, classy, done in seconds.
6. Black Cat Luck (miniatures)
Background: solid black. Front: a sleek black cat silhouette with glowing yellow eyes (the eyes pop because the background is dark), “PURRFECT HALLOWEEN” in white letters. Back: “Good luck comes to those who share chocolate.” I use these for adult Halloween parties — they look sleek next to a cocktail, and grown-ups get the pun.
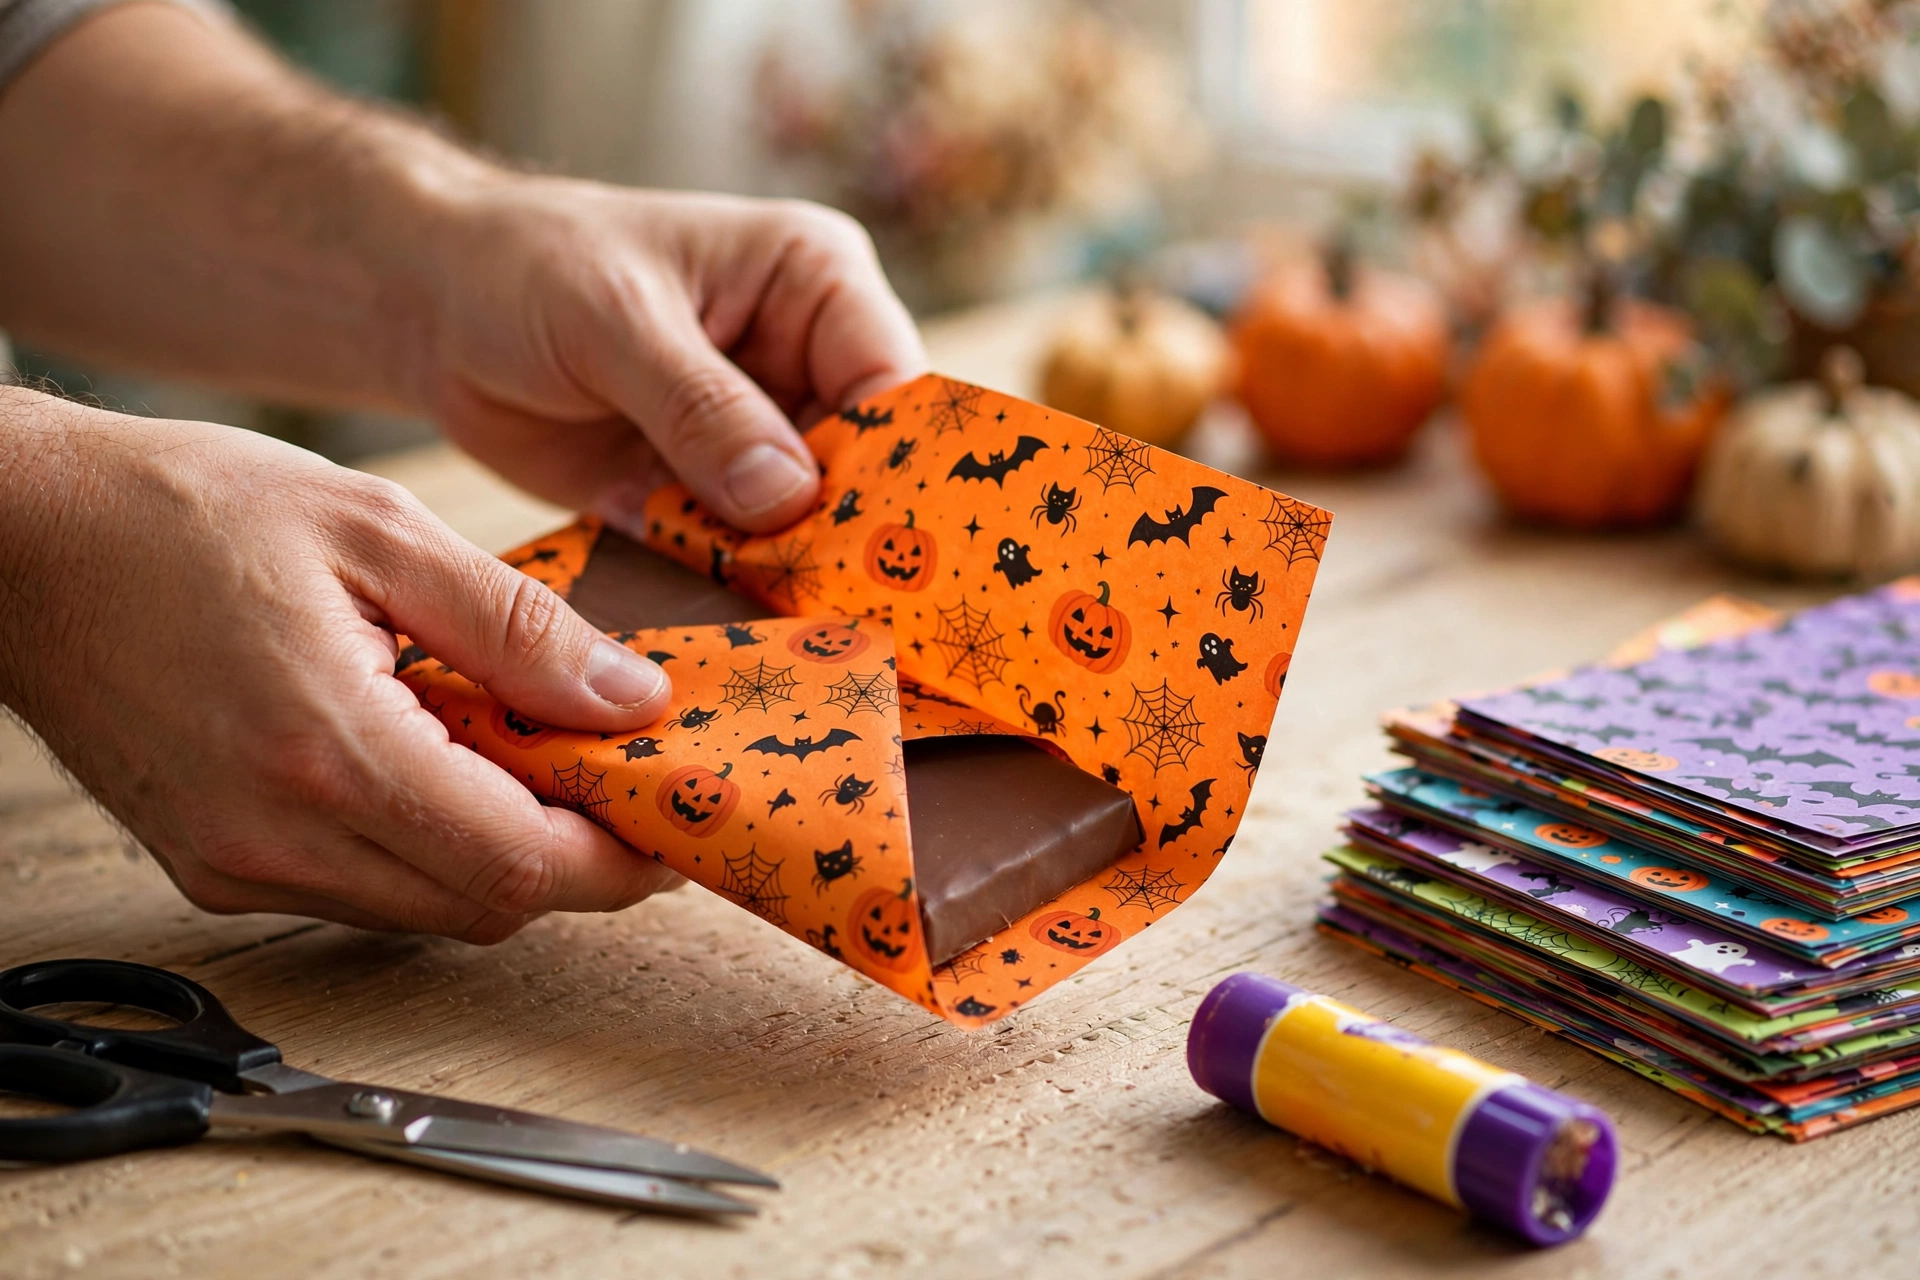
How to Wrap a Candy Bar in 5 Steps
- Cut your wrapper. For a standard bar: 5.5 inches wide by 5 inches tall. Measure twice if you’re a perfectionist like me; eyeball it if you’re not.
- Center the bar face-down on the printed side of the wrapper, leaving equal paper on each side.
- Fold the long edges over the bar, overlapping in the middle of the back. Crease sharply with your ruler edge.
- Secure with glue or tape along the overlap. A glue stick holds best and dries flat.
- Fold the ends. Tuck them like a gift box — fold the sides in, then fold the flap down and tape. Or do the simple version: gather and twist with a small piece of ribbon for a candy-cracker look.
The whole thing takes under a minute per bar once you get the rhythm. I wrap while watching TV and can knock out thirty in an episode.

8 Ways to Use Your Wrapped Bars
- Party favor bags: One full-size bar per bag is a complete favor. Done.
- Classroom treats: Fun-size bars with the Ghostly Greetings design, handed out on the last day before Halloween break.
- Boo baskets: Tuck two or three wrapped bars into a “You’ve Been Booed” basket for instant charm.
- Office candy bowl: Refill the break-room bowl with wrapped minis. You’ll be a legend.
- Trunk-or-treat: Full-size bars stand out when every other trunk is handing out fun-size.
- Place cards: Write each guest’s name on the back of a wrapped bar and set one at every dinner plate.
- Thank-you gifts: Give them to neighbors, your kid’s bus driver, the dog walker — anyone who deserves a little October sweetness.
- Photo booth props: Stack wrapped bars into a pyramid on the dessert table. Guests will dismantle it, which is the point.
Printing Tips for the Best Results
Print at 100% scale — never “fit to page” — or your measurements will drift. Cardstock (65 lb or so) feels premium and holds a crease; regular paper works fine for minis and fun-size. If your printer has a “best” quality setting, use it for the two full-size designs and the standard setting for everything else. And always, always do a test print of one wrapper before you print forty.
If you fall in love with this and want professionally designed wrapper sets — coordinated across full-size, fun-size, and miniatures, with matching treat tags and favor boxes — check out the full premium printable bundles at fukroo.etsy.com. The designs there are print-ready files made for exactly this kind of party prep.
Happy wrapping — and hide a few bars for yourself before the trick-or-treaters arrive. You earned them.
 🐶
Free Pet Guides
🐶 Love Dogs Too?
 🎁
Gift Ideas
🎉 Occasion Hunters — Gifts for Every Occasion