
Halloween Gift Tags Printable (Free Messages + Guide)
Free Halloween Gift Tag Messages (Plus How to Print Your Own Tags)
Here’s a little truth about Halloween gifting: the tag matters more than the bag. A plain sandwich bag of candy with a cute tag tied on feels like a gift. A fancy bag with no tag feels like… a bag of candy. I’ve watched kids at classroom parties pick the treat with the tag first, every single time. It takes two minutes and costs basically nothing.
This article gives you two things: 16 tag messages you can copy by hand onto any tag, card, or sticky note right now, and a complete guide to printing your own gift tags at home. No special equipment needed beyond a printer and scissors.
16 Halloween Gift Tag Messages to Copy
Write any of these on a tag, fold a piece of cardstock in half, or scribble one on a sticky note stuck to a treat bag. They all work.
Sweet and Simple
- Happy Halloween! Hope your night is full of treats (and zero tricks).
- Wishing you a spooky, sweet Halloween!
- Have a fang-tastic Halloween!
- You’re the pick of the pumpkin patch. Happy Halloween!
Funny and Playful
- No tricks, just treats — I promise. (Mostly.)
- Eat, drink, and be scary!
- You’re boo-tiful. Have a great Halloween!
- Creep it real. Happy Halloween!
For Boo Baskets and Neighbor Gifts
- You’ve been BOO’d! Pass it on to someone else before Halloween night.
- A little boo basket, just for you. Happy Halloween, neighbor!
- Something sweet for someone sweet. Boo!
- Thanks for making our street the best place to trick-or-treat.
For Teachers and Classrooms
- Thanks for making this class un-boo-lievably great. Happy Halloween!
- A sweet treat for a sweet teacher.
- You’re a smart cookie — here’s some candy to prove it. Happy Halloween!
- Thanks for a spook-tacular school year so far!

How to Print Your Own Halloween Gift Tags
Handwriting tags is charming, but if you need 30 of them for a classroom, printing is the way. Here’s the full process.
Step 1: Pick Your Paper
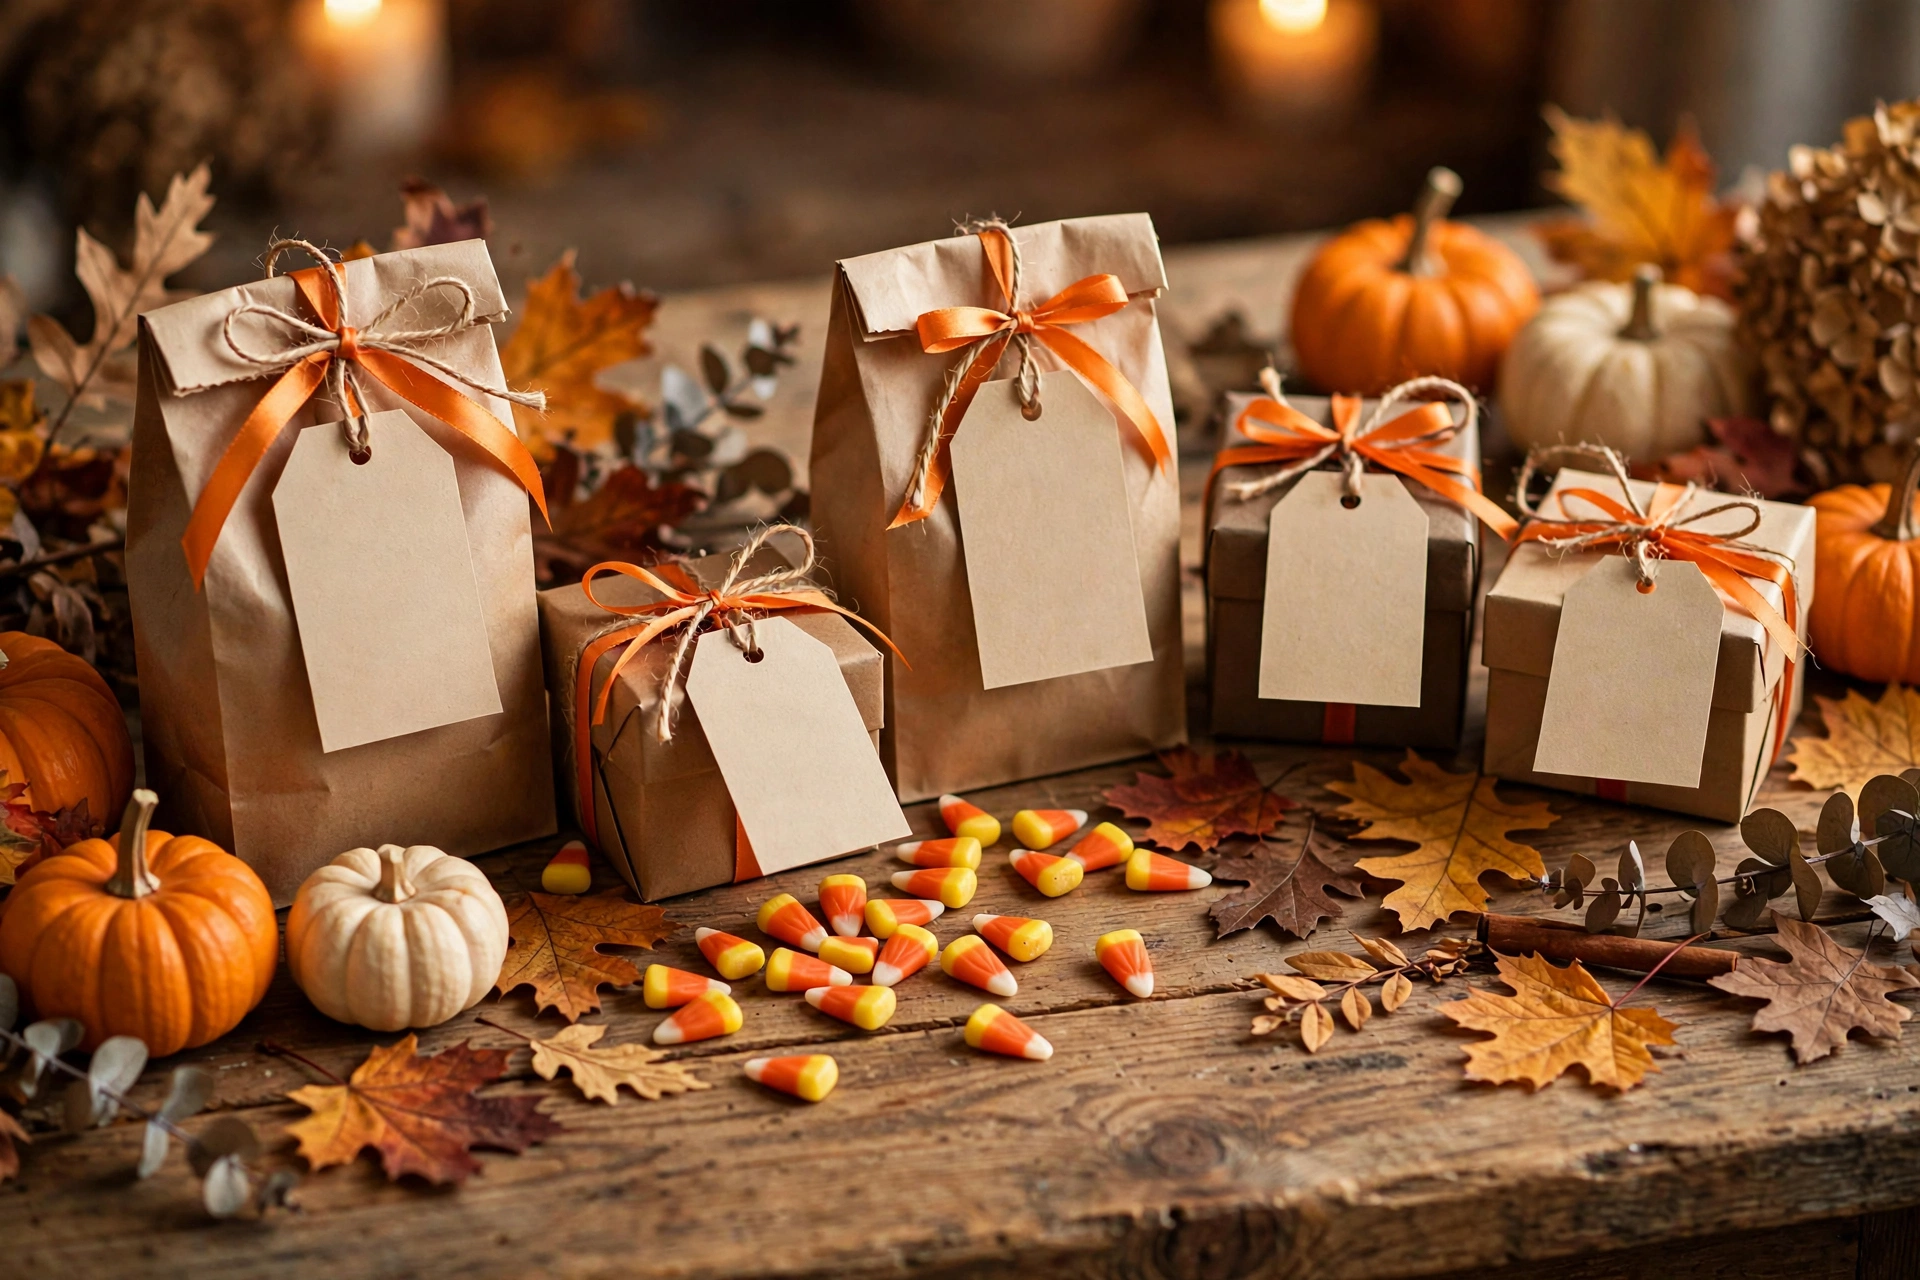
Regular printer paper works, but cardstock looks about ten times better and survives being tossed into a backpack. White cardstock is the safe choice; cream or kraft cardstock gives a rustic look that pairs beautifully with orange ribbon. If you’re printing tags the kids will handle roughly, laminate them or cover them with clear packing tape. I’ve done the packing-tape trick for classroom sets and it holds up shockingly well.
Step 2: Size and Layout
The standard gift tag size is about 2 by 3.5 inches — big enough to read, small enough to tie onto a bag. You can fit six of these on one US Letter sheet with room to spare. Leave a quarter inch of white space around each tag so your scissors have somewhere to go, and mark a small circle near the top of each tag where the hole punch goes.
Step 3: Add Your Message
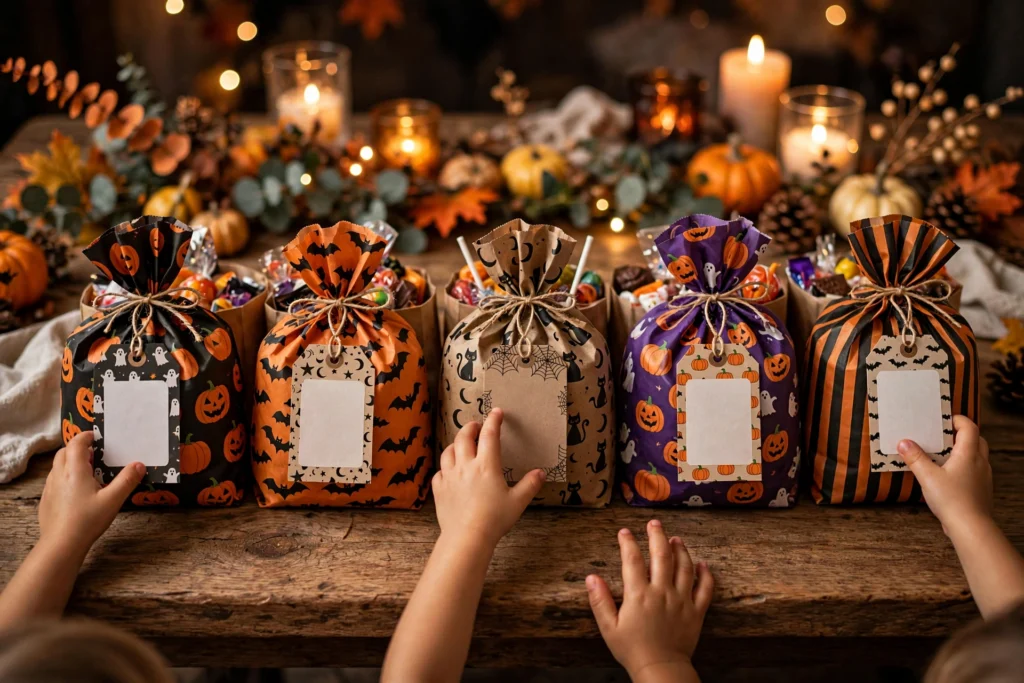
Pick from the messages above, or write your own. Keep it short — tags are tiny and long messages end up in unreadable 8-point font. Put the message on the front and leave the back blank for a handwritten “To/From.” That little handwritten touch is what makes a printed tag feel personal instead of mass-produced.
Step 4: Print Settings That Actually Matter
Three settings make or break your tags. First, set the print quality to “Best” or “High” — draft mode makes colors look washed out. Second, select the right paper type in your printer dialog (cardstock or heavy paper), which slows the printer down so the ink doesn’t smear. Third, print at 100% scale, not “fit to page,” or your tags will come out the wrong size.
Step 5: Cut, Punch, and Tie
Cut along your guides with scissors or a paper trimmer — a trimmer is worth it if you’re doing more than a dozen. Punch the hole with a standard single hole punch. For the string, baker’s twine is the classic choice, but orange ribbon, black yarn, or even strips of fabric all look great. Thread it through, tie it onto the bag, and you’re done.
What to Attach the Tags To
Tags are versatile. Here are the combinations I reach for most:
- Cellophane bags of candy — the classic. Fill, fold the top over, staple or tape it shut, tie the tag around the fold.
- Small paper gift bags — fold the top down twice and punch the tag right through the fold.
- Mason jars of treats — tie the tag around the jar neck with twine. Looks adorable with candy corn layers.
- Boo baskets — a bigger tag on the basket handle with the “You’ve been BOO’d” message.
- Homemade baked goods — wrap in parchment, tie with string, add a tag. Instant bakery vibes.
- Teacher gifts — attach to a coffee gift card or a small candle.
Tag Ideas for Different Ages
Toddlers and preschoolers: Keep it visual. A pumpkin or ghost shape with just “Happy Halloween!” and their name. They can’t read the pun anyway, and the shape is the whole gift.
Elementary kids: The funny ones land best here. “Creep it real” and “You’re boo-tiful” get giggles every time. Let them pick their own message from the list — choosing is half the fun.
Teens: Go minimal and slightly cool. A black tag with white lettering, one short line. Teens can smell “trying too hard” from across the room.
Adults and neighbors: The warm ones work best. A genuine “thanks for making our street great” on a nicely printed tag beats any store-bought card.
Get the Full Premium Printable Bundle
These messages and the printing guide cover you completely for free — start cutting tonight. But if you want tags that look like they came from a boutique stationery shop, the full premium printable bundle on Etsy includes multiple coordinated tag designs in different Halloween styles, matching bag toppers, boo-basket cards, and blank To/From tags, all print-ready. Same ten minutes of work, dramatically fancier results.
 🐶
Free Pet Guides
🐶 Love Dogs Too?
 🎁
Gift Ideas
🎉 Occasion Hunters — Gifts for Every Occasion